Australian A-League Men
FT
Friday, April 11, 2014


| 1st | 2nd | T | |
|---|---|---|---|
| MBV | 3 | 1 | 4 |
| WEL | 0 | 1 | 1 |
Sky Stadium
Head to Head
MBV leads series 4-1
Lineups
WEL
- 30Jacob SpoonleyG
- 4Luke AdamsD
- 5Michael BoxallD
- 22Andrew DuranteD
- 25Shaun TimminsD
- 12Tyler BoydM
- 9Kenny CunninghamM
- 17Vince LiaM
- 21Carlos HernandezM
- 2Manny MuscatM
- 11Jeremy BrockieF
Substitutes
- 24Roy KrishnaSUB
- 1Glen MossSUB
- 15Jason HicksSUB
- 23Matthew RidentonSUB
- 10Stijn HuysegemsSUB
MBV
- 1Nathan CoeG
- 4Nicholas AnsellD
- 3Adama TraoréD
- 24Scott GallowayD
- 23Adrian LeijerD
- 10Archie ThompsonM
- 9Kosta BarbarousesM
- 5Mark MilliganM
- 6Leigh BroxhamM
- 7Guilherme FinklerF
- 14James TroisiF
Substitutes
- 22Jesse MakarounasSUB
- 17James JeggoSUB
- 20Lawrence ThomasSUB
- 25Jason GeriaSUB
- 11Connor PainSUB
Timeline
- 1' Archie Thompson (Melbourne Victory) Goal at 1'
- 20' Nicholas Ansell (Melbourne Victory) Yellow Card at 20'
- 29' James Troisi (Melbourne Victory) Goal at 29'
- 34' Kenny Cunningham (Wellington Phoenix FC) Yellow Card at 34'
- 45' Finkler Guilherme (Melbourne Victory) Goal at 45'
- 57' Shaun Timmins (Wellington Phoenix FC) Red Card at 57'
- 59' Mark Milligan (Melbourne Victory) Penalty - Scored at 59'
- 59' Matthew Ridenton (Wellington Phoenix FC) Substitution at 59'
- 65' Jason Hicks (Wellington Phoenix FC) Substitution at 65'
- 71' James Jeggo (Melbourne Victory) Substitution at 71'
- 72' Jesse Makarounas (Melbourne Victory) Substitution at 72'
- 80' Connor Pain (Melbourne Victory) Substitution at 80'
- 81' Jeremy Brockie (Wellington Phoenix FC) Yellow Card at 81'
- 88' Roy Krishna (Wellington Phoenix FC) Substitution at 88'
- 90'+3' Jeremy Brockie (Wellington Phoenix FC) Goal at 93'
A-League Men News
All news ESPN
A-League Men Stocks: Has Talay fixed the Wanderers?
Talay's Wanderers dazzled, Melbourne's heavyweights misfired and an unexpected contender is already shaking up the A-League table.
 Video
Youlley sparks Sydney's comeback with a beauty from range
Rhys Youlley fires home from outside the box as Sydney FC fight back to claim a 2-1 win.
 Video
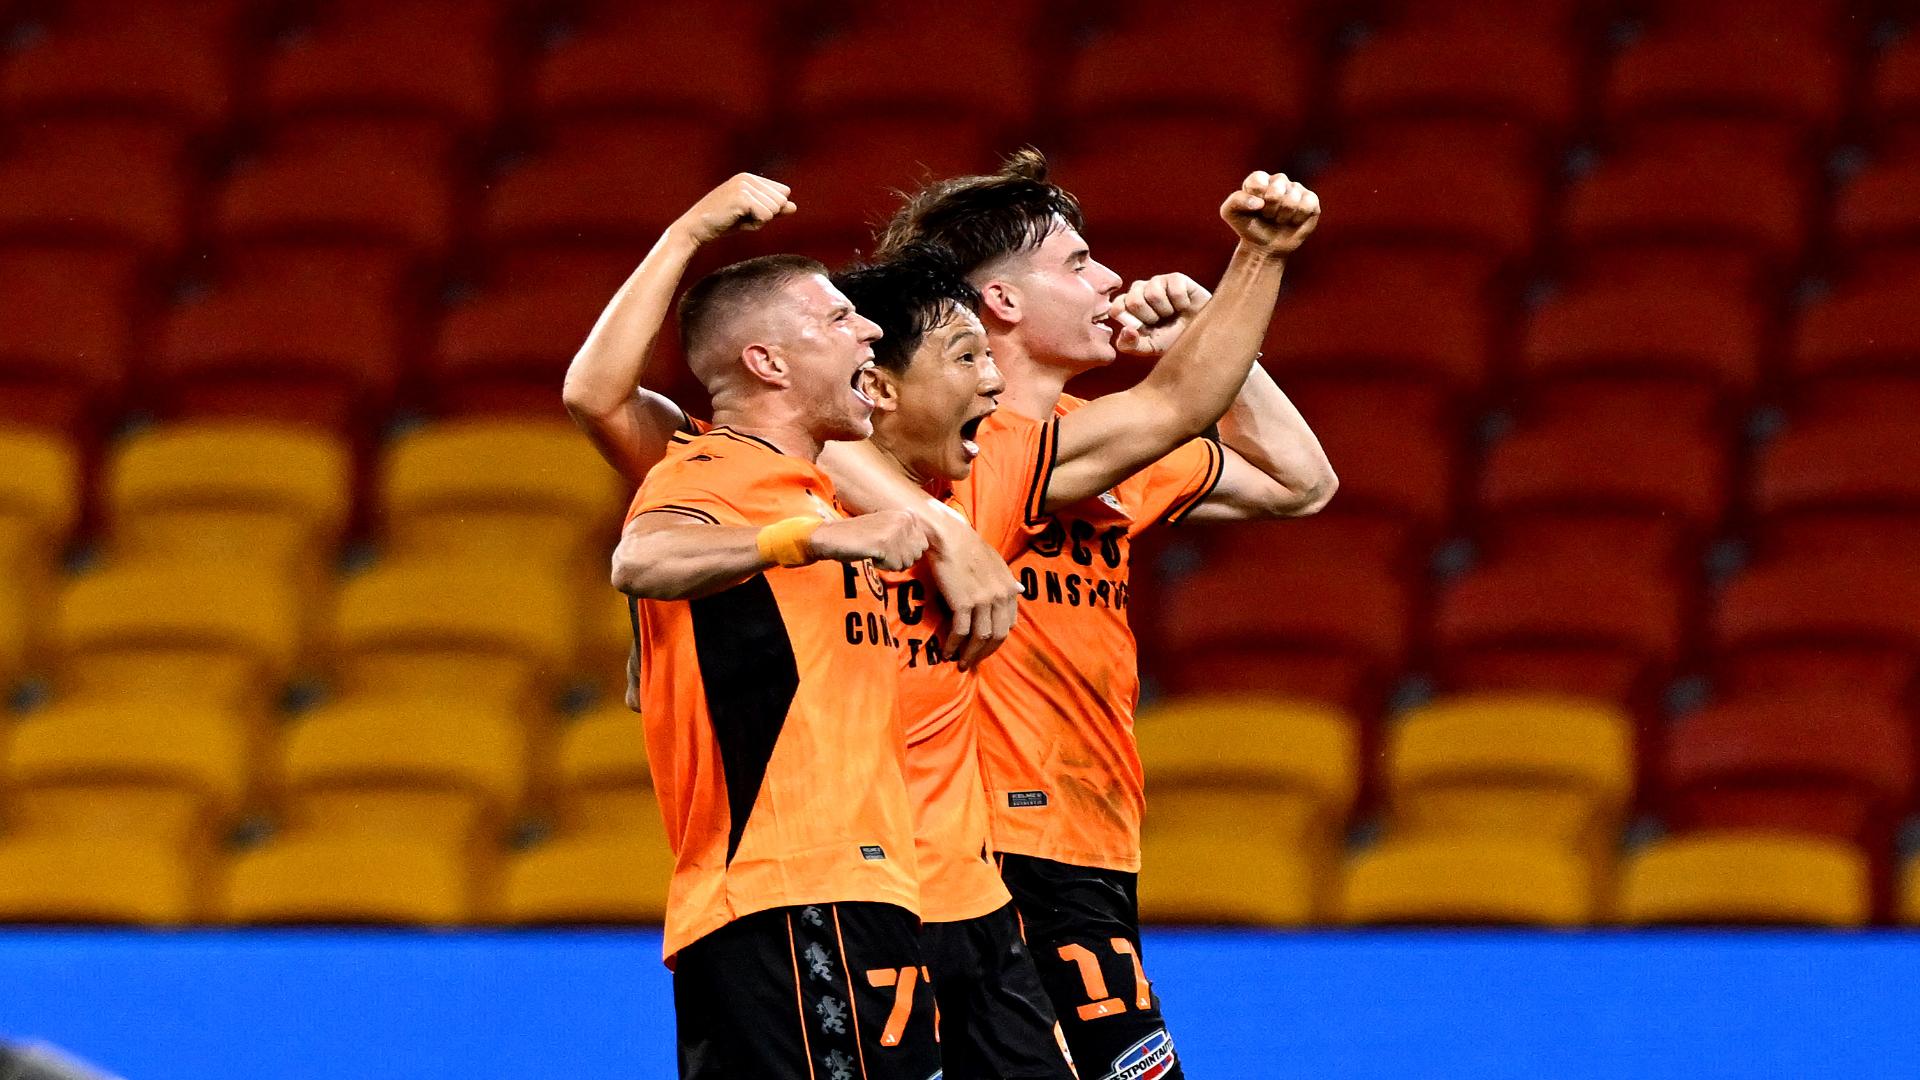
Nam Tae-Hee doubles Roar's lead with a screamer
The South Korean star scores a stunning volley in his A-League debut for Brisbane against the Perth Glory.
 ESPN
A-League Men Stocks Round 1: I've got chulls
Each week, ESPN's experts will take you through the weekend's action across the A-League Men and the A-League Women to give you the lowdown on whose stocks are up, whose stocks are down, and what has the people talking coming out of the weekend.