Australian A-League Men
FT
Friday, October 24, 2014


| 1st | 2nd | T | |
|---|---|---|---|
| SYD | 1 | 1 | 2 |
| BRI | 0 | 0 | 0 |
Suncorp Stadium · 14,141 att.
Head to Head
BRI leads series 3-1-1
Lineups
BRI
- 21Jamie YoungG
- 3Shane StefanuttoD
- 13Jade NorthD
- 2Matt SmithD
- 15James DonachieD
- 10HenriqueM
- 8Steven LusticaM
- 23Dimitrios PetratosM
- 22Thomas BroichM
- 18Luke BrattanM
- 7Mensur KurtisiF
Substitutes
- 12Jean Carlos SolorzanoSUB
- 11Liam MillerSUB
- 19Jack HingertSUB
- 28Brandon BorrelloSUB
- 30Matt ActonSUB
SYD
- 20Vedran JanjetovicG
- 4Pedj BojicD
- 22Ali AbbasD
- 3Sasa OgnenovskiD
- 2Sebastian RyallD
- 7Corey GameiroM
- 14Alex BrosqueM
- 11Bernie Ibini-IseiM
- 17Terry AntonisM
- 8Milos DimitrijevicM
- 21Marc JankoF
Substitutes
- 16Alex GersbachSUB
- 25Aaron CalverSUB
- 12Hagi GligorSUB
- 13Christopher NaumoffSUB
- 1Ivan NecevskiSUB
Timeline
- 18' Bernie Ibini-Isei (Sydney FC) Yellow Card at 18'
- 28' Marc Janko (Sydney FC) Goal at 28'
- 52' Steven Lustica (Brisbane Roar) Yellow Card at 52'
- 54' Milos Dimitrijevic (Sydney FC) Goal at 54'
- 63' Luke Brattan (Brisbane Roar) Yellow Card at 63'
- 63' Brandon Borrello (Brisbane Roar) Substitution at 63'
- 69' Jeancarlo Solorzano (Brisbane Roar) Substitution at 69'
- 76' Vedran Janjetovic (Sydney FC) Yellow Card at 76'
- 78' Christopher Naumoff (Sydney FC) Substitution at 78'
- 78' Liam Miller (Brisbane Roar) Substitution at 78'
- 89' Hagi Gligor (Sydney FC) Substitution at 89'
A-League Men News
All news ESPN
A-League Men Stocks: Has Talay fixed the Wanderers?
Talay's Wanderers dazzled, Melbourne's heavyweights misfired and an unexpected contender is already shaking up the A-League table.
 Video
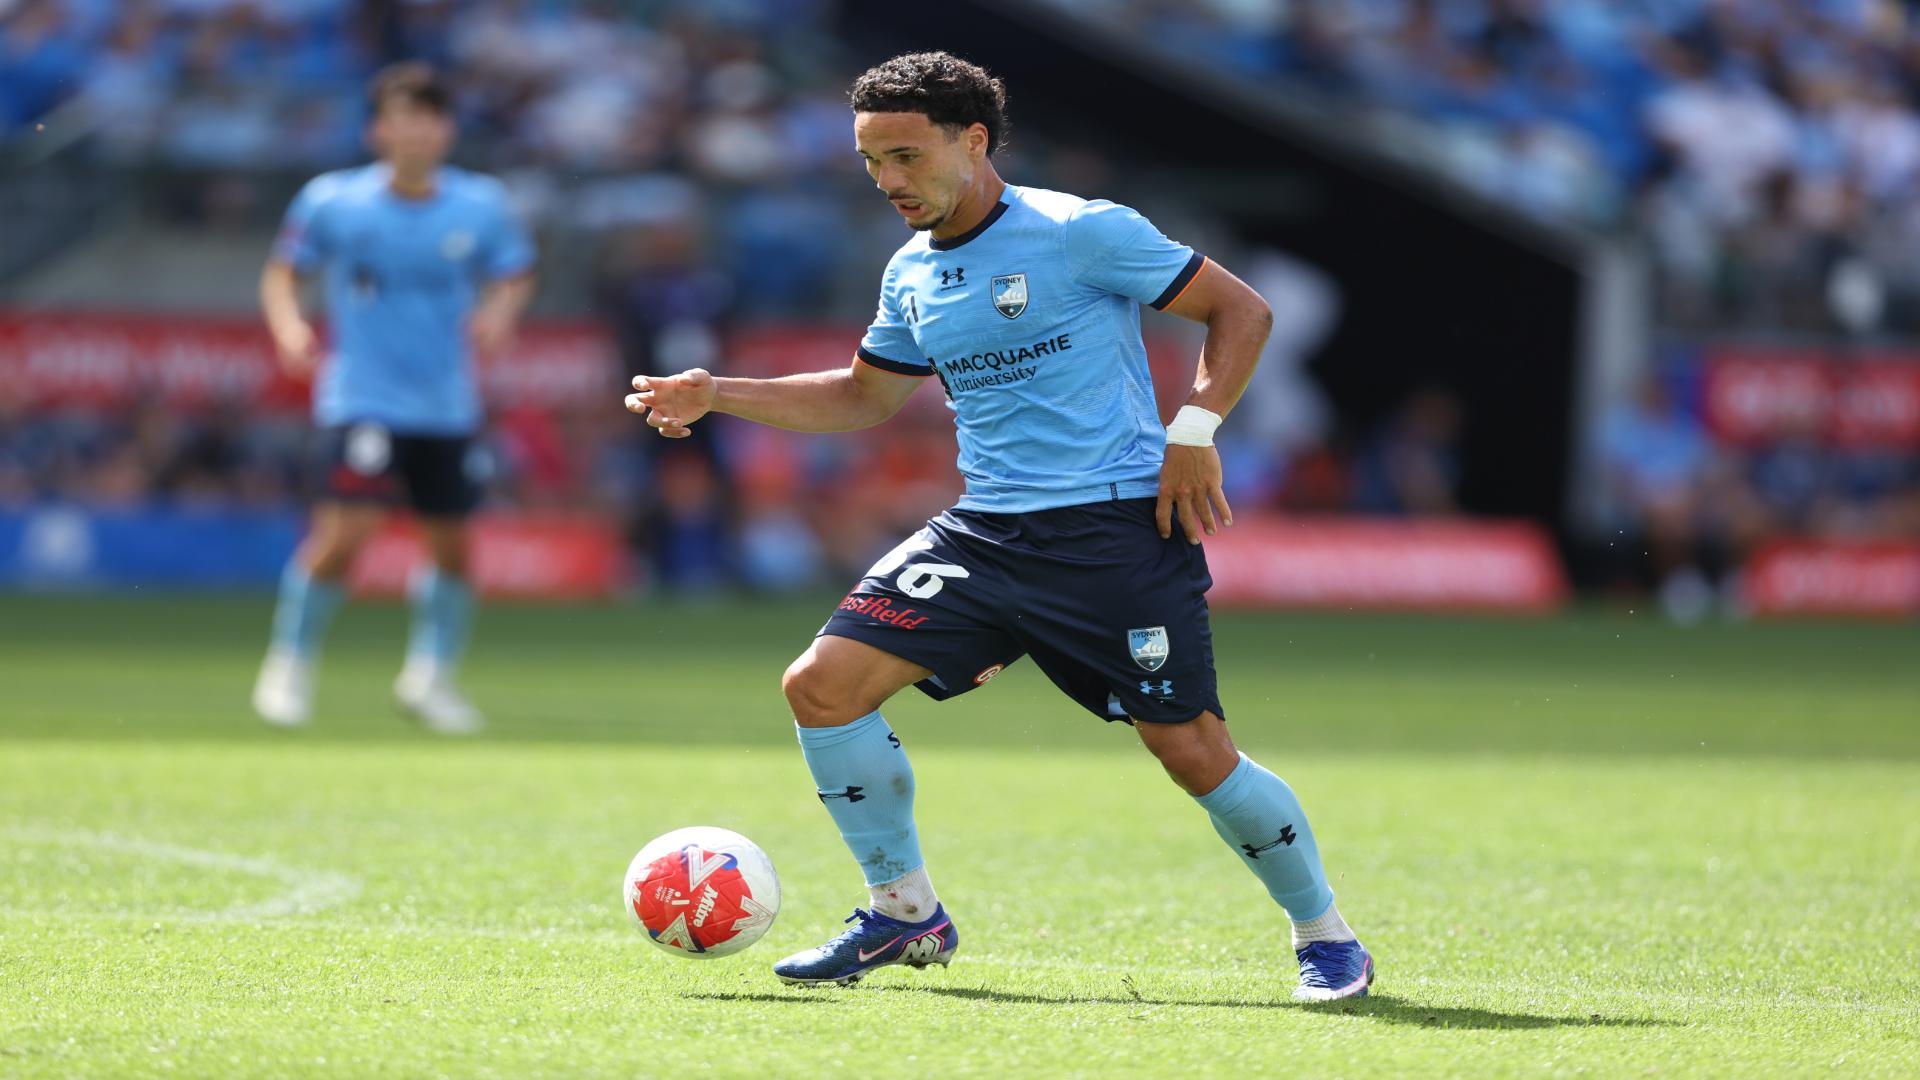
Youlley sparks Sydney's comeback with a beauty from range
Rhys Youlley fires home from outside the box as Sydney FC fight back to claim a 2-1 win.
 Video
Nam Tae-Hee doubles Roar's lead with a screamer
The South Korean star scores a stunning volley in his A-League debut for Brisbane against the Perth Glory.
 ESPN
A-League Men Stocks Round 1: I've got chulls
Each week, ESPN's experts will take you through the weekend's action across the A-League Men and the A-League Women to give you the lowdown on whose stocks are up, whose stocks are down, and what has the people talking coming out of the weekend.