Japanese J.League
FT


| 1st | 2nd | T | |
|---|---|---|---|
| SHI | 0 | 0 | 0 |
| SAN | 1 | 3 | 4 |
Edion Peace Wing Hiroshima · 26,014 att.
Team Stats
12
Fouls
16
1
Yellow Cards
1
0
Red Cards
0
0
Offsides
0
4
Corner Kicks
7
3
Saves
2
41.2
Possession
58.8
10
SHOTS
16
2
ON GOAL
7
0.2
On Target %
0.4
0
Penalty Goals
0
0
Penalty Kicks Taken
0
270
Accurate Passes
414
356
Passes
515
0.8
Pass Completion %
0.8
0
Accurate Crosses
0
0
Crosses
0
0.0
Cross %
0.0
0
Long Balls
0
0
Accurate Long Balls
0
0.0
Long Balls %
0.0
3
Blocked Shots
4
8
Effective Tackles
13
15
Tackles
23
0.5
Tackle %
0.6
0
Interceptions
0
0
Effective Clearances
0
38
Clearances
22
Head to Head
SAN leads series 2-1-2
Lineups
SAN · 3-4-2-1
- 1Keisuke OsakoG
- 4Hayato ArakiCD
- 37Kim Ju-SungCD-L
- 15Shuto NakanoCD-R
- 8Takuma KawamuraCM-L
- 14Taishi MatsumotoCM-R
- 18Daiki SugaLM
- 5Naoto AraiRM
- 23Shun AyukawaF
- 10Akito SuzukiCF-L
- 11Mutsuki KatoCF-R
Substitutes
- 6Hayao KawabeSUB
- 32Sota KoshimichiSUB
- 9Kusini YengiSUB
- 46Rento NoguchiSUB
- 29Takuma AsanoSUB
- 35Yotaro NakajimaSUB
- 7Shunki HigashiSUB
- 45Shimon KobayashiSUB
- 99Issei OuchiSUB
SHI · 4-2-3-1
- 16Togo UmedaG
- 4Sodai HasukawaCD-L
- 14Park Seung-wookCD-R
- 25Mateus Brunetti ValorLB
- 24Hidehiro SugaiRB
- 18Taiki HiratoAM
- 17Masaki YumibaLM
- 47Yudai ShimamotoRM
- 19Kosuke KinoshitaF
- 7CapixabaAM-L
- 13Ryo GermainAM-R
Substitutes
- 1Yuya OkiSUB
- 97Rinsei OhataSUB
- 9Oh Se-HunSUB
- 50Tomoya FujiiSUB
- 81Kazuki KozukaSUB
- 41Keigo SuzukiSUB
- 28Yutaka YoshidaSUB
- 37Kei KoizumiSUB
- 39Haruto HidakaSUB
Timeline
- 17' Hayao Kawabe (Sanfrecce Hiroshima) Substitution at 17'
- 27' Kei Koizumi (Shimizu S-Pulse) Substitution at 27'
- 41' Taishi Matsumoto (Sanfrecce Hiroshima) Goal at 41'
- 45' Takuma Asano (Sanfrecce Hiroshima) Substitution at 45'
- 45' Tomoya Fujii (Shimizu S-Pulse) Substitution at 45'
- 49' Oh Se-Hun (Shimizu S-Pulse) Substitution at 49'
- 49' Kazuki Kozuka (Shimizu S-Pulse) Substitution at 49'
- 50' Takuma Asano (Sanfrecce Hiroshima) Goal at 50'
- 62' Ryo Germain (Shimizu S-Pulse) Yellow Card at 62'
- 69' Akito Suzuki (Sanfrecce Hiroshima) Goal at 69'
- 70' Kusini Yengi (Sanfrecce Hiroshima) Substitution at 70'
- 70' Shunki Higashi (Sanfrecce Hiroshima) Substitution at 70'
- 75' Sodai Hasukawa (Shimizu S-Pulse) Own Goal at 75'
- 82' Shimon Kobayashi (Sanfrecce Hiroshima) Substitution at 82'
- 87' Rinsei Ohata (Shimizu S-Pulse) Substitution at 87'
- 90'+3' Hayato Araki (Sanfrecce Hiroshima) Yellow Card at 90'+3'
Japanese J1 League News
All news ESPN
Socceroos transfer tracker: Where Australia's stars will play in 2026-27
Transfer deadlines are hitting across the globe and, with it, bringing to an end a window that has seen a remarkable surge in interest in players who represented the Socceroos at the FIFA World Cup.
 ESPN
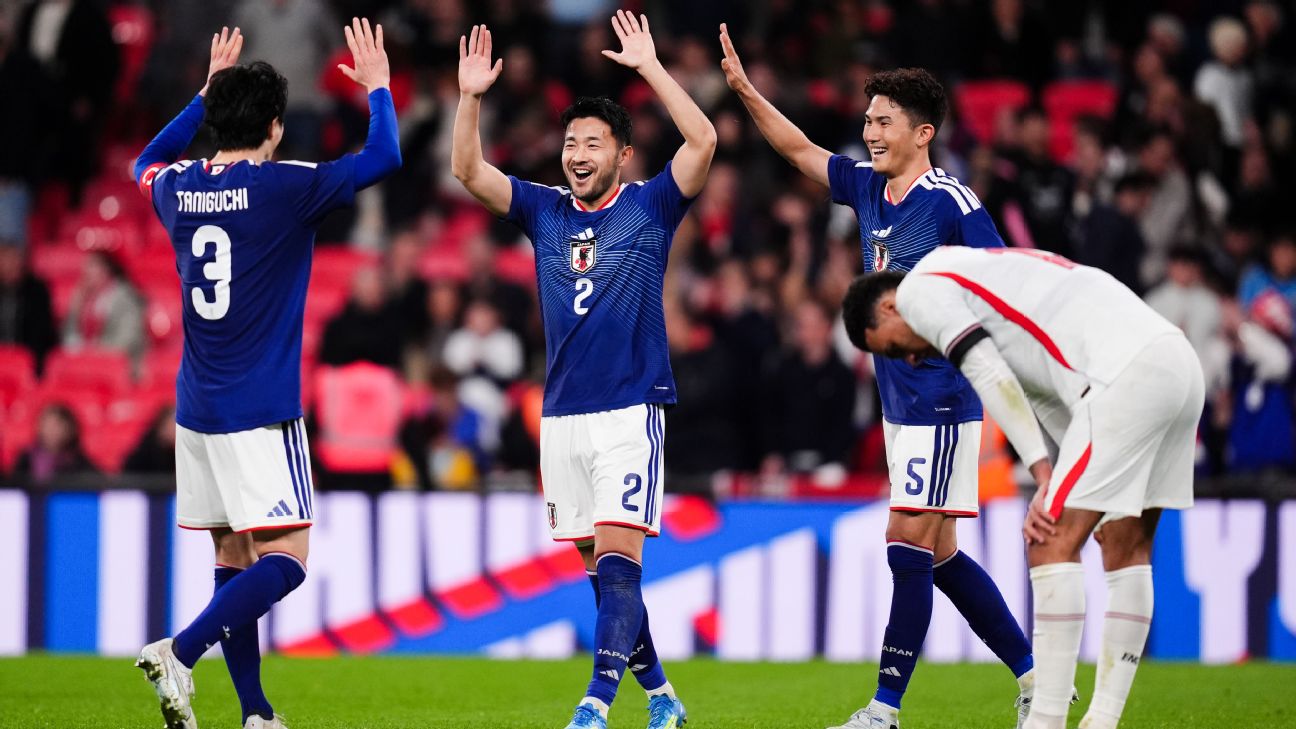
Japan 'came here to win the World Cup, not fun' - Yukinari Sugawara
Japan wingback Yukinari Sugawara has reiterated that his team are at the World Cup not just to participate, but to win it.
 News
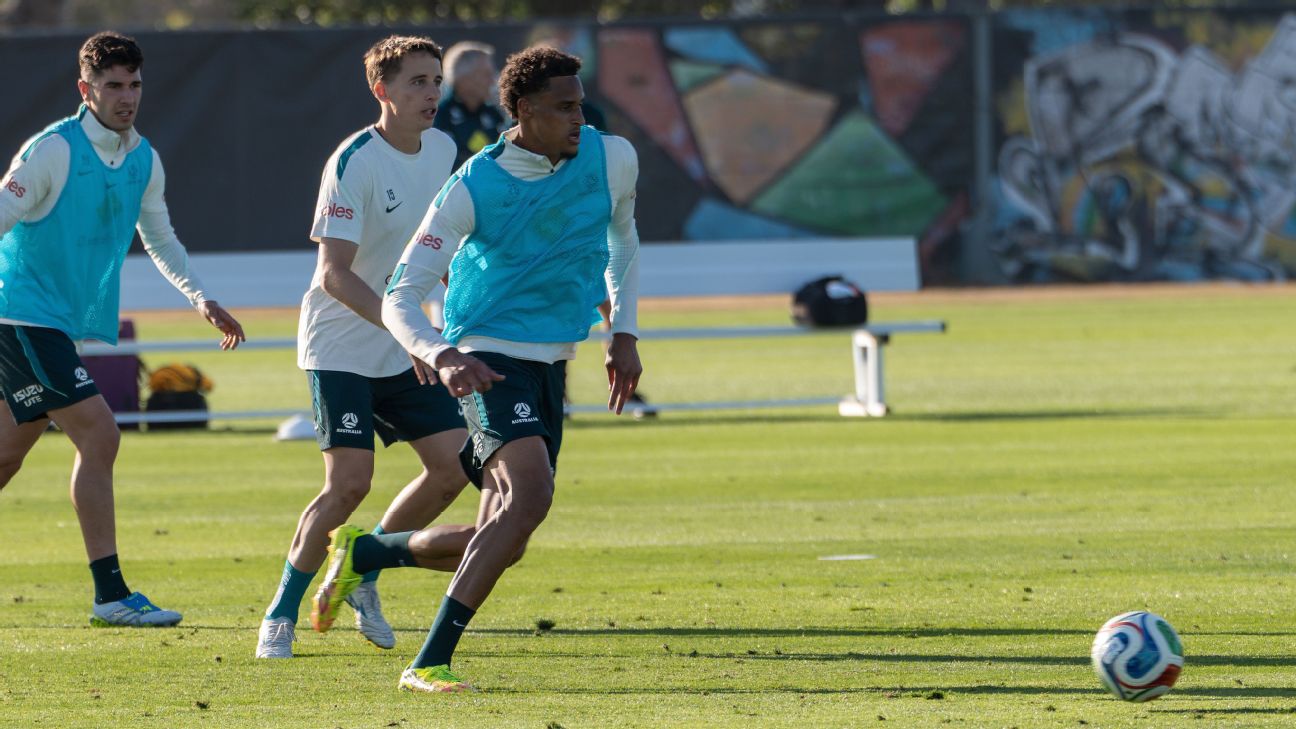
Tete Yengi credits journeyman career for World Cup call-up
Socceroos bolter Tete Yengi says his journey to the national team has not been straightforward, but he believes these adventures have played a key role in his pursuit of becoming the "ultimate player" and, more importantly, a World Cup representative.
 ESPN
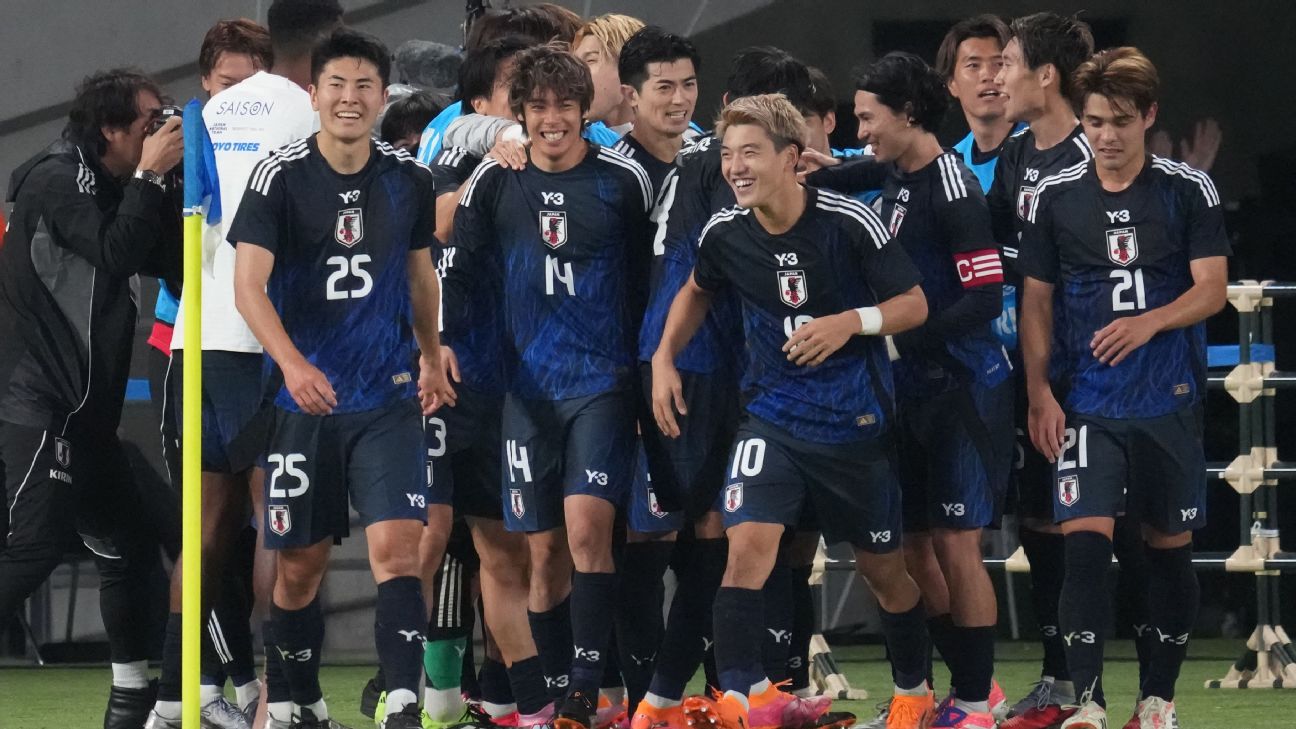
Why Japan could be the most exciting team at the 2026 FIFA World Cup
Even with a couple of key players out through injury, Japan could still be the most exciting team at the 2026 World Cup.