Japanese J.League
FT


| 1st | 2nd | T | |
|---|---|---|---|
| URA | 0 | 1 | 1 |
| MITO | 0 | 0 | 0 |
Kasamatsu Stadium · 10,909 att.
Team Stats
7
Fouls
6
1
Yellow Cards
1
0
Red Cards
1
1
Offsides
0
13
Corner Kicks
0
1
Saves
5
85.8
Possession
14.2
28
SHOTS
1
6
ON GOAL
1
0.2
On Target %
1.0
0
Penalty Goals
0
0
Penalty Kicks Taken
0
688
Accurate Passes
62
769
Passes
134
0.9
Pass Completion %
0.5
0
Accurate Crosses
0
0
Crosses
0
0.0
Cross %
0.0
0
Long Balls
0
0
Accurate Long Balls
0
0.0
Long Balls %
0.0
7
Blocked Shots
0
7
Effective Tackles
6
10
Tackles
9
0.7
Tackle %
0.7
0
Interceptions
0
0
Effective Clearances
0
10
Clearances
69
Head to Head
URA leads series 3-0
Lineups
MITO · 4-4-2
- 27Jakub SlowikG
- 17Kenta ItakuraCD-L
- 15Yasuki KimotoCD-R
- 3Koshi OsakiLB
- 25Takumi MaseRB
- 19Taishi SenbaCM-L
- 20Yu FunabashiCM-R
- 22Kaito TaniguchiLM
- 39Hayata YamamotoRM
- 8Chihiro KatoCF-L
- 9Ryo NemotoCF-R
Substitutes
- 29Keisuke TadaSUB
- 16Yuri TamuraSUB
- 2Malick FofanaSUB
- 50Rei IeizumiSUB
- 33Patryck FerreiraSUB
- 34Konosuke NishikawaSUB
- 48Yuto YamashitaSUB
- 24Kiichi YamazakiSUB
- 44Motoki NishiharaSUB
URA · 4-3-3
- 1Shusaku NishikawaG
- 15Kota KudoCD-L
- 3Danilo BozaCD-R
- 18Kotaro HayashiLB
- 6Miki YamaneRB
- 2Yuta MiyamotoCM
- 12Tatsuki SekoLM
- 25Kaito YasuiRM
- 17Hiiro KomoriF
- 10Matheus SávioLF
- 7Takuro KanekoRF
Substitutes
- 36Renji HidanoSUB
- 13Ryoma WatanabeSUB
- 37Hayate UekiSUB
- 39Jumpei HayakawaSUB
- 33Shuta SasaSUB
- 5Kenta NemotoSUB
- 88Yoichi NaganumaSUB
- 45Ado OnaiwuSUB
- 23Koki FukuiSUB
Timeline
- 10' Taishi Senba (Mito Hollyhock) Red Card at 10'
- 45' Malick Fofana (Mito Hollyhock) Substitution at 45'
- 58' Yoichi Naganuma (Urawa Red Diamonds) Substitution at 58'
- 70' Kiichi Yamazaki (Mito Hollyhock) Substitution at 70'
- 73' Jumpei Hayakawa (Urawa Red Diamonds) Substitution at 73'
- 73' Renji Hidano (Urawa Red Diamonds) Substitution at 73'
- 76' Jakub Slowik (Mito Hollyhock) Yellow Card at 76'
- 77' Keisuke Tada (Mito Hollyhock) Substitution at 77'
- 80' Kaito Yasui (Urawa Red Diamonds) Yellow Card at 80'
- 83' Ado Onaiwu (Urawa Red Diamonds) Substitution at 83'
- 83' Shuta Sasa (Urawa Red Diamonds) Substitution at 83'
- 90' Yuri Tamura (Mito Hollyhock) Substitution at 90'
- 90'+1' Yuto Yamashita (Mito Hollyhock) Substitution at 90'+1'
- 90'+4' Shuta Sasa (Urawa Red Diamonds) Goal at 90'+4'
Japanese J1 League News
All news ESPN
Socceroos transfer tracker: Where Australia's stars will play in 2026-27
Transfer deadlines are hitting across the globe and, with it, bringing to an end a window that has seen a remarkable surge in interest in players who represented the Socceroos at the FIFA World Cup.
 ESPN
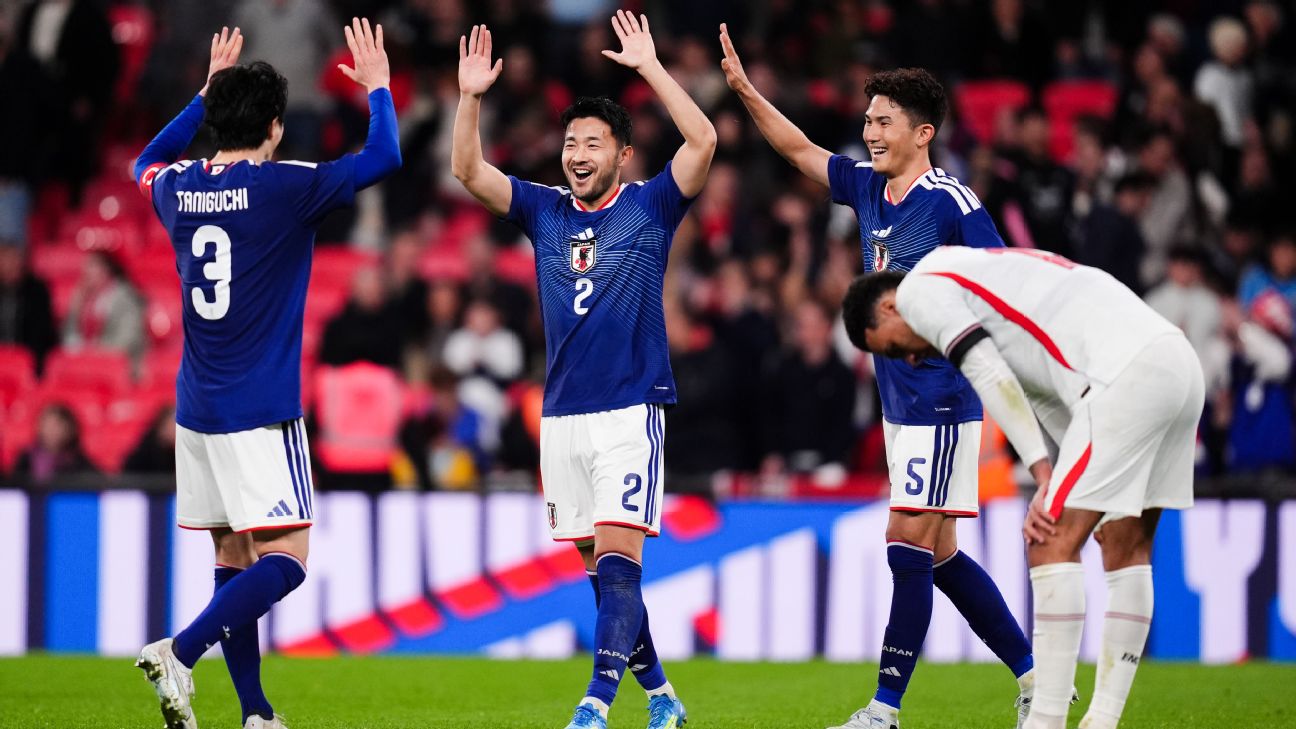
Japan 'came here to win the World Cup, not fun' - Yukinari Sugawara
Japan wingback Yukinari Sugawara has reiterated that his team are at the World Cup not just to participate, but to win it.
 News
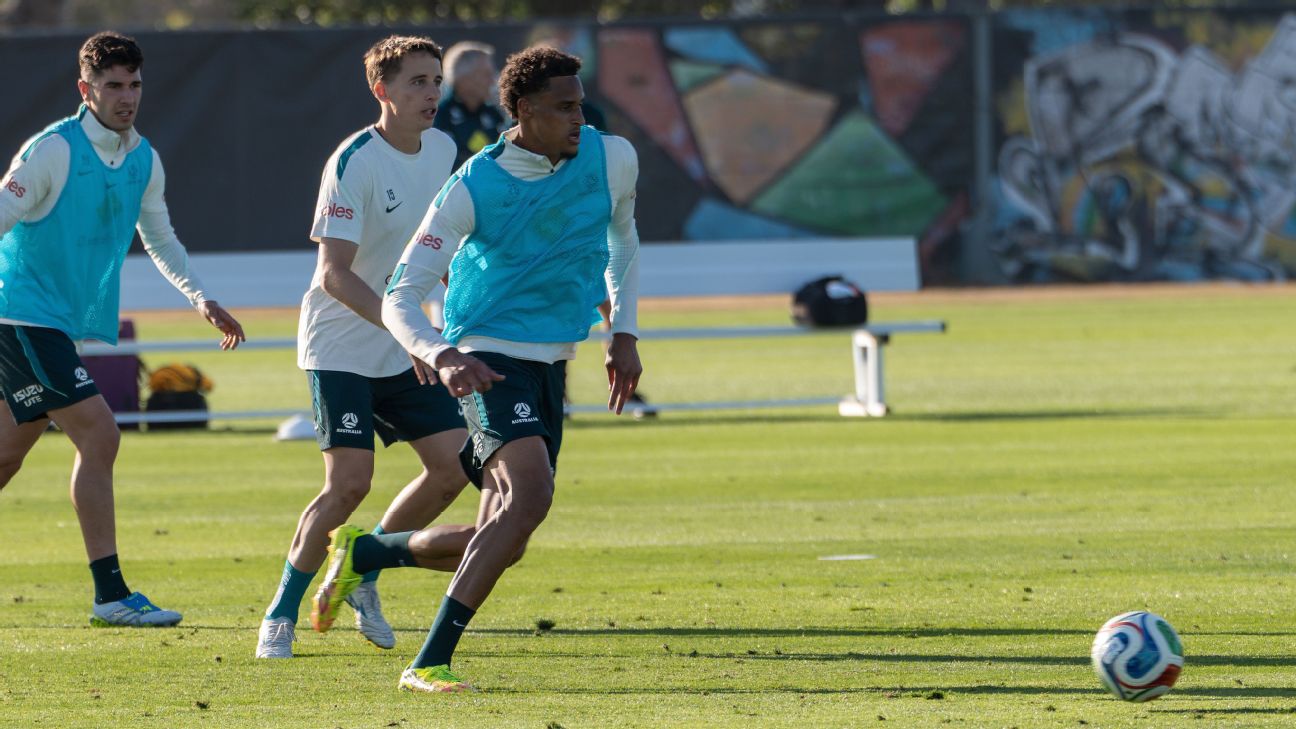
Tete Yengi credits journeyman career for World Cup call-up
Socceroos bolter Tete Yengi says his journey to the national team has not been straightforward, but he believes these adventures have played a key role in his pursuit of becoming the "ultimate player" and, more importantly, a World Cup representative.
 ESPN
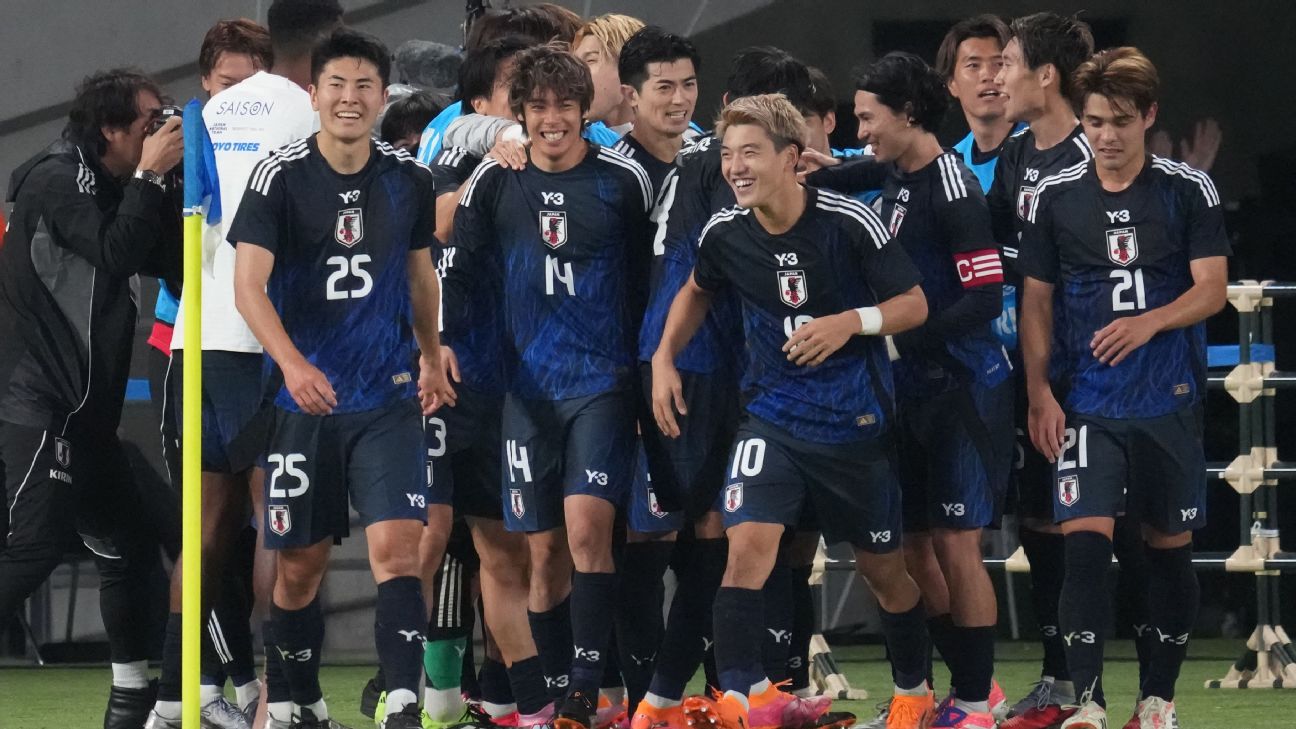
Why Japan could be the most exciting team at the 2026 FIFA World Cup
Even with a couple of key players out through injury, Japan could still be the most exciting team at the 2026 World Cup.