

Australian A-League Men

FT Sunday, April 16, 2017
Wellington Phoenix DLWWD 3
–
Brisbane Roar FC LWWLW 4
1st2ndT
WEL303
BRI134
Suncorp Stadium · 12,098 att. · ESPN3

Match Report

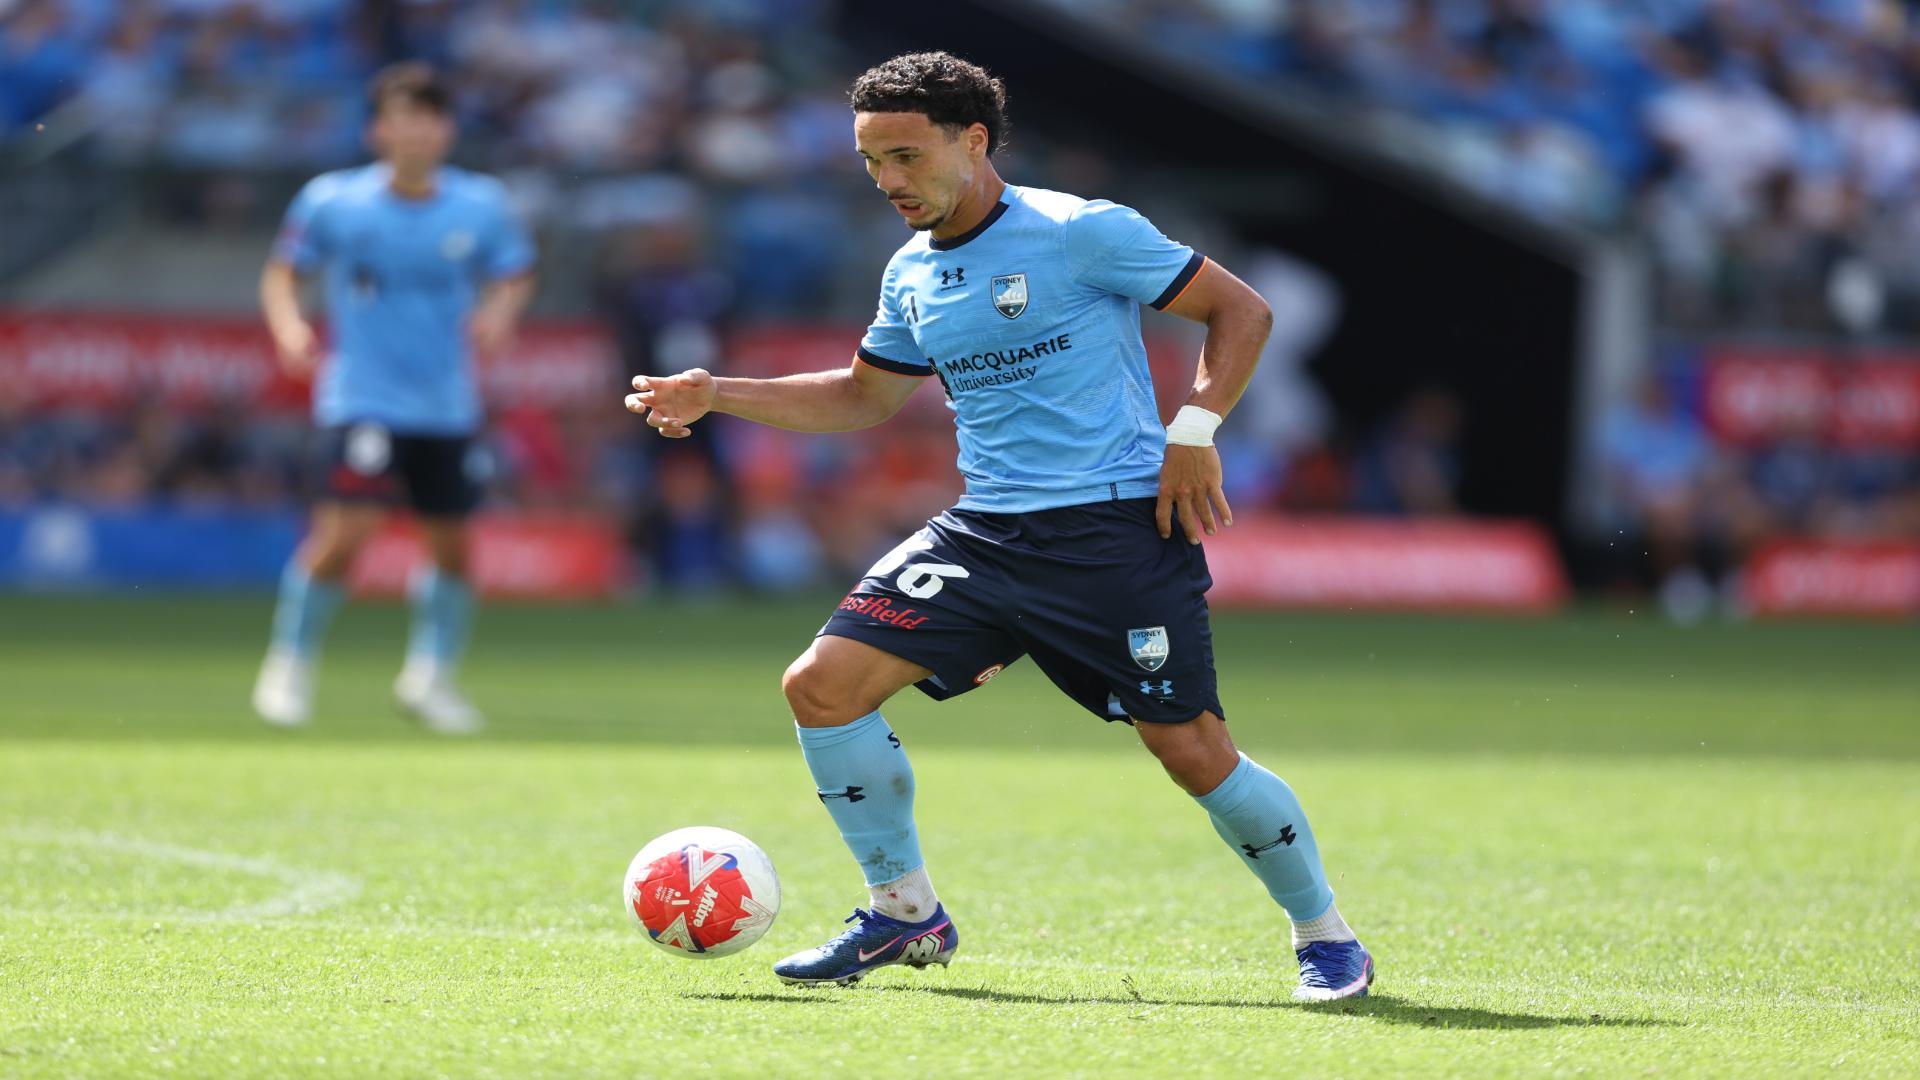
Bradley Kanaris/Getty Images

Brett Holman nets twice in stunning Brisbane Roar fightback

A-League

Full story at ESPN →

Team Stats

9
Fouls
15
2
Yellow Cards
1
0
Red Cards
0
5
Offsides
3
5
Corner Kicks
5
5
Saves
4
50.2
Possession
49.8
18
SHOTS
17
7
ON GOAL
9
0.4
On Target %
0.5
0
Penalty Goals
0
0
Penalty Kicks Taken
1
349
Accurate Passes
341
427
Passes
424
0.8
Pass Completion %
0.8
4
Accurate Crosses
3
15
Crosses
15
0.3
Cross %
0.2
58
Long Balls
59
27
Accurate Long Balls
34
0.5
Long Balls %
0.6
4
Blocked Shots
3
11
Effective Tackles
18
12
Tackles
21
0.9
Tackle %
0.9
0
Interceptions
0
26
Effective Clearances
19
26
Clearances
19

Head to Head

BRI leads series 3-1-1

Lineups

BRI · 4-2-3-1

  1. 1Michael TheoG
  2. 3Luke DeVereCD-L
  3. 6Avraam PapadopoulosCD-R
  4. 11Tommy OarLB
  5. 46Cameron CrestaniRB
  6. 10Brett HolmanAM
  7. 29Joe CalettiLM
  8. 7Thomas KristensenRM
  9. 9Jamie MaclarenF
  10. 22Thomas BroichAM-L
  11. 28Brandon BorrelloAM-R

Substitutes

  1. 25Kye RowlesSUB
  2. 50Dane InghamSUB
  3. 8Jacob PepperSUB
  4. 21Jamie YoungSUB
  5. 26Nicholas D'AgostinoSUB

WEL · 4-1-2-1-2

  1. 20Lewis ItalianoG
  2. 13Marco RossiCD-L
  3. 17Vince LiaCD-R
  4. 8Alex RodriguezDM
  5. 19Tom DoyleLB
  6. 5Ryan LowRB
  7. 7Guilherme FinklerAM
  8. 10Michael McGlincheyLM
  9. 4Roly BonevaciaRM
  10. 21Roy KrishnaCF-L
  11. 9Kosta BarbarousesCF-R

Substitutes

  1. 12Adam ParkhouseSUB
  2. 1Glen MossSUB
  3. 24Logan RogersonSUB
  4. 11Hamish WatsonSUB
  5. 25Sarpreet SinghSUB

Timeline

  1. 6' Goal! Brisbane Roar FC 0, Wellington Phoenix 1. Roy Krishna (Wellington Phoenix) left footed shot from the centre of the box to the bottom left corner. Assisted by Guilherme Finkler with a through ball.
  2. 21' Goal! Brisbane Roar FC 1, Wellington Phoenix 1. Brett Holman (Brisbane Roar FC) right footed shot from more than 35 yards to the bottom right corner. Assisted by Joe Caletti.
  3. 36' Roly Bonevacia (Wellington Phoenix) is shown the yellow card for a bad foul.
  4. 38' Goal! Brisbane Roar FC 1, Wellington Phoenix 2. Guilherme Finkler (Wellington Phoenix) right footed shot from the centre of the box to the top right corner. Assisted by Michael McGlinchey.
  5. 40' Cameron Crestani (Brisbane Roar FC) is shown the yellow card for a bad foul.
  6. 41' Goal! Brisbane Roar FC 1, Wellington Phoenix 3. Michael McGlinchey (Wellington Phoenix) left footed shot from the centre of the box to the bottom right corner.
  7. 51' Goal! Brisbane Roar FC 2, Wellington Phoenix 3. Brandon Borrello (Brisbane Roar FC) left footed shot from outside the box to the bottom left corner. Assisted by Thomas Broich.
  8. 53' Goal! Brisbane Roar FC 3, Wellington Phoenix 3. Jamie Maclaren (Brisbane Roar FC) left footed shot from the centre of the box to the high centre of the goal. Assisted by Tommy Oar.
  9. 67' Goal! Brisbane Roar FC 4, Wellington Phoenix 3. Brett Holman (Brisbane Roar FC) right footed shot from outside the box to the bottom left corner. Assisted by Brandon Borrello.
  10. 75' Vince Lia (Wellington Phoenix) is shown the yellow card for a bad foul.
  11. 76' Penalty saved! Jamie Maclaren (Brisbane Roar FC) fails to capitalise on this great opportunity, right footed shot saved in the centre of the goal.
  12. 78' Substitution, Wellington Phoenix. Hamish Watson replaces Guilherme Finkler.
  13. 86' Substitution, Brisbane Roar FC. Jacob Pepper replaces Brett Holman.
  14. 87' Substitution, Brisbane Roar FC. Kye Rowles replaces Tommy Oar.
  15. 87' Substitution, Wellington Phoenix. Adam Parkhouse replaces Hamish Watson because of an injury.
  16. 89' Substitution, Brisbane Roar FC. Dane Ingham replaces Cameron Crestani.

A-League Men News

All news