
Australian A-League Men

FT Saturday, January 19, 2019
Wellington Phoenix WDDWW 3
–
Melbourne Victory DWLWW 3
1st2ndT
WEL303
MBV123
AAMI Park · 18,136 att. · ESPN+

Match Report

Getty

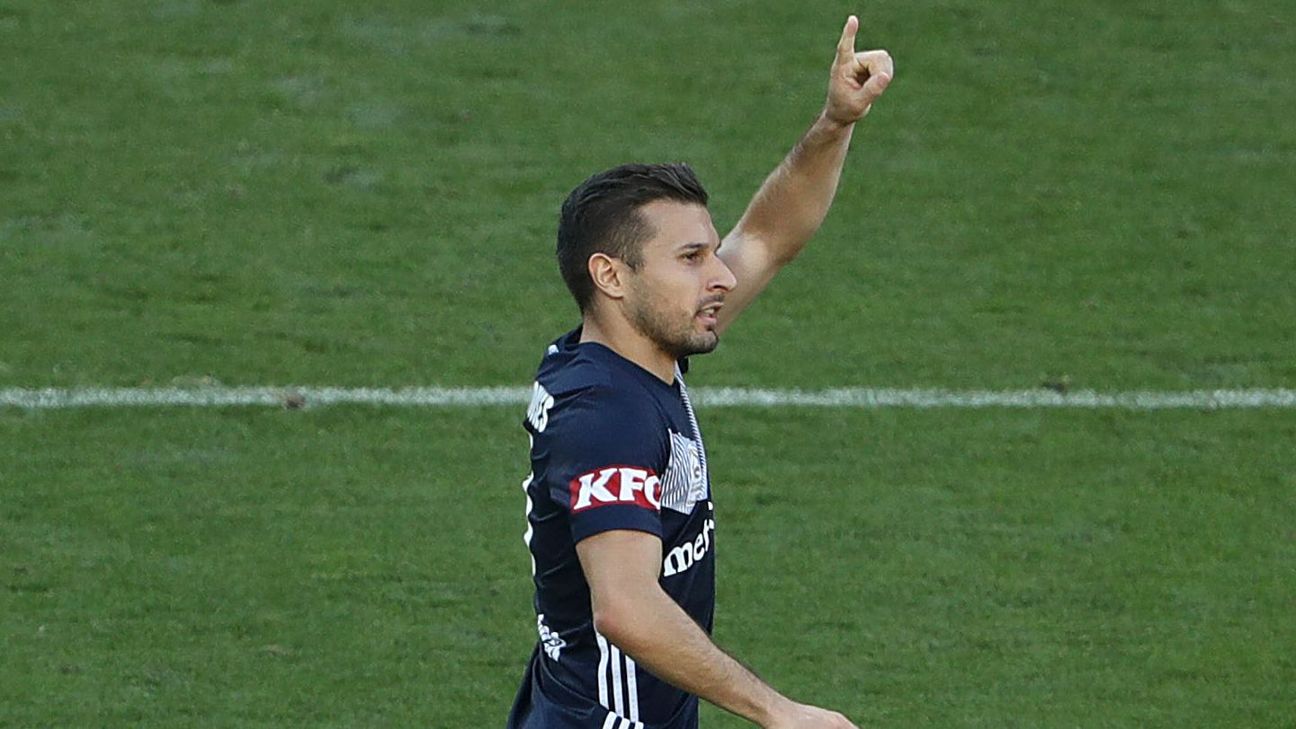
Melbourne Victory and Wellington Phoenix share spoils in six-goal thriller

A late strike from Kosta Barbarouses salvaged a point for Melbourne Victory in a ding-dong 3-3 draw with Wellington Phoenix on Sunday.

Full story at ESPN →

Team Stats

12
Fouls
15
2
Yellow Cards
2
0
Red Cards
0
1
Offsides
1
4
Corner Kicks
6
5
Saves
4
41
Possession
59
16
SHOTS
17
7
ON GOAL
8
0.4
On Target %
0.5
1
Penalty Goals
0
1
Penalty Kicks Taken
0
258
Accurate Passes
396
356
Passes
502
0.7
Pass Completion %
0.8
3
Accurate Crosses
7
11
Crosses
28
0.3
Cross %
0.3
67
Long Balls
64
22
Accurate Long Balls
29
0.3
Long Balls %
0.5
4
Blocked Shots
3
10
Effective Tackles
15
15
Tackles
23
0.7
Tackle %
0.7
11
Interceptions
6
30
Effective Clearances
16
30
Clearances
16

Head to Head

MBV leads series 2-1-2

Lineups

MBV · 4-1-2-1-2

  1. 20Lawrence ThomasG
  2. 6Leigh BroxhamCD-L
  3. 14Thomas DengCD-R
  4. 21Carl ValeriDM
  5. 3Corey BrownLB
  6. 2Storm RouxRB
  7. 10James TroisiAM
  8. 16Josh HopeLM
  9. 8Terry AntonisRM
  10. 9Kosta BarbarousesCF-L
  11. 11Ola ToivonenCF-R

Substitutes

  1. 19Rahmat AkbariSUB
  2. 24Elvis KamsobaSUB
  3. 1Matt ActonSUB
  4. 7Kenjok AthiuSUB
  5. 15Raul BaenaSUB

WEL · 3-4-1-2

  1. 1Filip KurtoG
  2. 22Andrew DuranteCD
  3. 19Tom DoyleCD-L
  4. 27Steven TaylorCD-R
  5. 4MandiCM-L
  6. 14Alex RuferCM-R
  7. 18Sarpreet SinghAM
  8. 13Liberato CacaceLM
  9. 16Louis FentonRM
  10. 11David WilliamsCF-L
  11. 21Roy KrishnaCF-R

Substitutes

  1. 23Max BurgessSUB
  2. 6Dylan FoxSUB
  3. 7Cillian SheridanSUB
  4. 20Oliver SailSUB
  5. 15Michal KopczynskiSUB

Timeline

  1. 5' Goal! Melbourne Victory 1, Wellington Phoenix 0. Ola Toivonen (Melbourne Victory) right footed shot from the centre of the box to the centre of the goal. Assisted by Kosta Barbarouses with a through ball.
  2. 7' Goal! Melbourne Victory 1, Wellington Phoenix 1. David Williams (Wellington Phoenix) left footed shot from very close range to the centre of the goal. Assisted by Louis Fenton.
  3. 20' Goal! Melbourne Victory 1, Wellington Phoenix 2. Roy Krishna (Wellington Phoenix) converts the penalty with a right footed shot to the high centre of the goal.
  4. 28' Goal! Melbourne Victory 1, Wellington Phoenix 3. Roy Krishna (Wellington Phoenix) left footed shot from the centre of the box to the centre of the goal.
  5. 34' Ola Toivonen (Melbourne Victory) is shown the yellow card for a bad foul.
  6. 40' David Williams (Wellington Phoenix) is shown the yellow card for a bad foul.
  7. 45' Substitution, Melbourne Victory. Raúl Baena replaces Joshua Hope.
  8. 56' Goal! Melbourne Victory 2, Wellington Phoenix 3. James Troisi (Melbourne Victory) left footed shot from the centre of the box to the bottom left corner. Assisted by Ola Toivonen with a through ball.
  9. 59' Corey Brown (Melbourne Victory) is shown the yellow card for a bad foul.
  10. 62' Substitution, Wellington Phoenix. Cillian Sheridan replaces David Williams because of an injury.
  11. 69' Substitution, Melbourne Victory. Elvis Kamsoba replaces Corey Brown.
  12. 80' Substitution, Melbourne Victory. Kenny Athiu replaces Ola Toivonen.
  13. 81' Tom Doyle (Wellington Phoenix) is shown the yellow card for a bad foul.
  14. 84' Substitution, Wellington Phoenix. Dylan Fox replaces Tom Doyle.
  15. 85' Substitution, Wellington Phoenix. Michal Kopczynski replaces Mandi.
  16. 88' Goal! Melbourne Victory 3, Wellington Phoenix 3. Kosta Barbarouses (Melbourne Victory) right footed shot from the centre of the box to the bottom left corner.

A-League Men News

All news