English National League
FT
Saturday, October 12, 2019

| 1st | 2nd | T | |
|---|---|---|---|
| BOR | 1 | 1 | 2 |
| HAL | 0 | 0 | 0 |
The Shay Stadium · 2,244 att.
Head to Head
HAL leads series 2-1-2
Lineups
HAL
- 1Sam JohnsonG
- 6Liam NolanD
- 4Nathan ClarkeD
- 2Michael DuckworthD
- 3Jerome WilliamsD
- 7Jamie AllenM
- 11Oluwatobi Sho-SilvaM
- 10Cameron KingM
- 14Joshua StauntonM
- 15Liam McAlindenF
- 22Charlie CooperF
Substitutes
- 9Dayle SouthwellSUB
- 31Niall MaherSUB
- 12Will AppleyardSUB
- 8Jack EaringSUB
- 20Jeff KingSUB
BOR
- 17Nathan AshmoreG
- 2Dan WoodardsD
- 5Tom ChampionD
- 3Oluwafemi IlesanmiD
- 7Piero MingoiaD
- 8Adam McDonnellM
- 9Kabongo TshimangaM
- 11Tyrone MarshM
- 10Keiran MurtaghM
- 14Sorba ThomasF
- 12Jamal FyfieldF
Substitutes
- 20Justin ShaibuSUB
- 1David GregorySUB
- 15Ricky ShakesSUB
- 16Jordan ThompsonSUB
- 18Charlie WickhamSUB
Timeline
- 15' Oluwatobi Sho-Silva (FC Halifax Town) Yellow Card at 15'
- 23' Jamie Allen (FC Halifax Town) Yellow Card at 23'
- 31' Jordan Thompson (Boreham Wood) Substitution at 31'
- 44' Tom Champion (Boreham Wood) Goal at 44'
- 56' Jeff King (FC Halifax Town) Substitution at 56'
- 60' Niall Maher (FC Halifax Town) Substitution at 60'
- 65' Ricky Shakes (Boreham Wood) Substitution at 65'
- 69' Dale Southwell (FC Halifax Town) Substitution at 69'
- 74' Nathan Clarke (FC Halifax Town) Yellow Card at 74'
- 75' Adam McDonnell (Boreham Wood) Goal at 75'
- 81' Justin Shaibu (Boreham Wood) Substitution at 81'
- 83' Tom Champion (Boreham Wood) Yellow Card at 83'
- 90' Nathan Ashmore (Boreham Wood) Yellow Card at 90'
- 90'+3' Sorba Thomas (Boreham Wood) Yellow Card at 93'
National League News
All news News
Forest Green to trial operating with no manager: 'We're going to try something new'
Forest Green Rovers owner Dale Vince has revealed that the club are going to try and operate without a manager and "see what happens."
 News
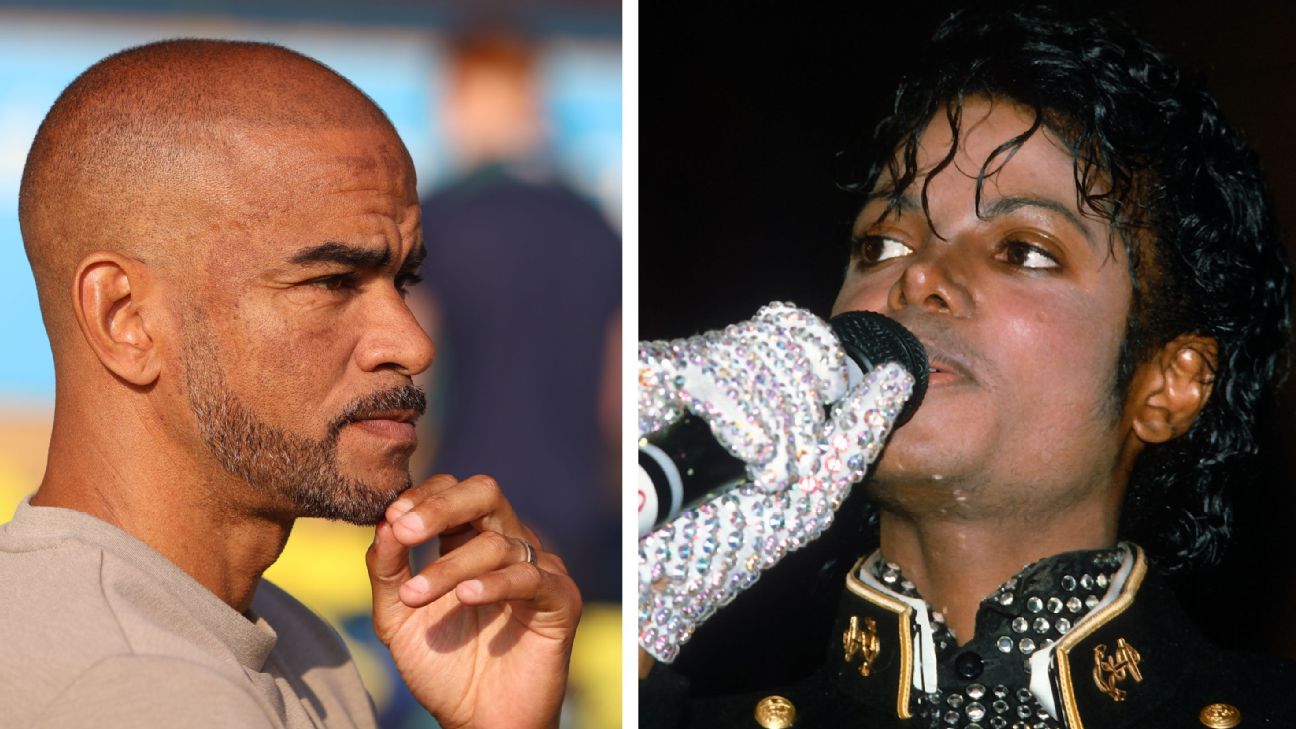
Explained: Why Kieron Dyer used Michael Jackson songs to baffle reporters
Southend head coach Kieron Dyer went a bit 'off the wall' with his comments during a press conference by slipping in names of Michael Jackson songs.
 News
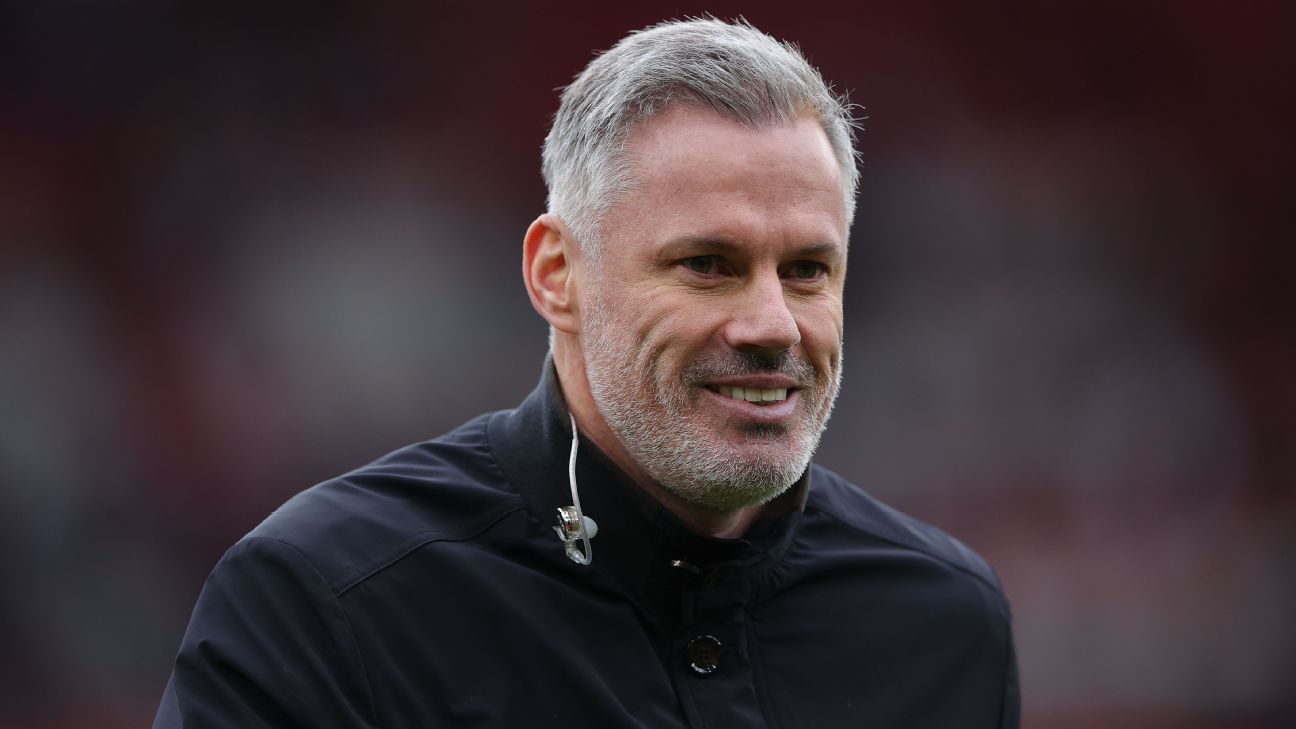
Jamie Carragher joins Marine as advisor, club explain why he's a 'huge help'
Jamie Carragher has been announced as an advisor to non-league side Marine.
 News
Rochdale return to EFL in dramatic playoff final comeback
Rochdale produced a dramatic late fightback from 2-0 down to clinch promotion back to the EFL with a penalty shoot-out victory over Boreham Wood.