Australian A-League Men
FT
Friday, November 21, 2014


| 1st | 2nd | T | |
|---|---|---|---|
| BRI | 0 | 0 | 0 |
| MBV | 0 | 1 | 1 |
Marvel Stadium · 23,740 att.
Head to Head
BRI leads series 3-1-1
Lineups
MBV
- 1Nathan CoeG
- 24Scott GallowayD
- 15Daniel GeorgievskiD
- 6Leigh BroxhamD
- 23Adrian LeijerD
- 10Archie ThompsonM
- 14Fahid Ben KhalfallahM
- 21Carl ValeriM
- 5Mark MilliganM
- 7Guilherme FinklerM
- 8Besart BerishaF
Substitutes
- 22Jesse MakarounasSUB
- 16Rashid MahaziSUB
- 11Connor PainSUB
- 9Kosta BarbarousesSUB
- 20Lawrence ThomasSUB
BRI
- 21Jamie YoungG
- 13Jade NorthD
- 3Shane StefanuttoD
- 2Matt SmithD
- 14Daniel BowlesD
- 17Matt McKayM
- 18Luke BrattanM
- 23Dimitrios PetratosM
- 22Thomas BroichF
- 10HenriqueF
- 28Brandon BorrelloF
Substitutes
- 34Shannon BradySUB
- 30Matt ActonSUB
- 15James DonachieSUB
- 8Steven LusticaSUB
- 7Mensur KurtisiSUB
Timeline
- 11' Carl Valeri (Melbourne Victory) Yellow Card at 11'
- 17' James Donachie (Brisbane Roar) Substitution at 17'
- 29' Matt McKay (Brisbane Roar) Yellow Card at 29'
- 35' Mark Milligan (Melbourne Victory) Yellow Card at 35'
- 45' Jade North (Brisbane Roar) Yellow Card at 45'
- 57' Kosta Barbarouses (Melbourne Victory) Substitution at 57'
- 62' Mensur Kurtisi (Brisbane Roar) Substitution at 62'
- 65' Luke Brattan (Brisbane Roar) Yellow Card at 65'
- 67' Connor Pain (Melbourne Victory) Substitution at 67'
- 77' Jade North (Brisbane Roar) Own Goal at 77'
- 81' Steven Lustica (Brisbane Roar) Substitution at 81'
- 86' Rashid Mahazi (Melbourne Victory) Substitution at 86'
A-League Men News
All news ESPN
A-League Men Stocks: Has Talay fixed the Wanderers?
Talay's Wanderers dazzled, Melbourne's heavyweights misfired and an unexpected contender is already shaking up the A-League table.
 Video
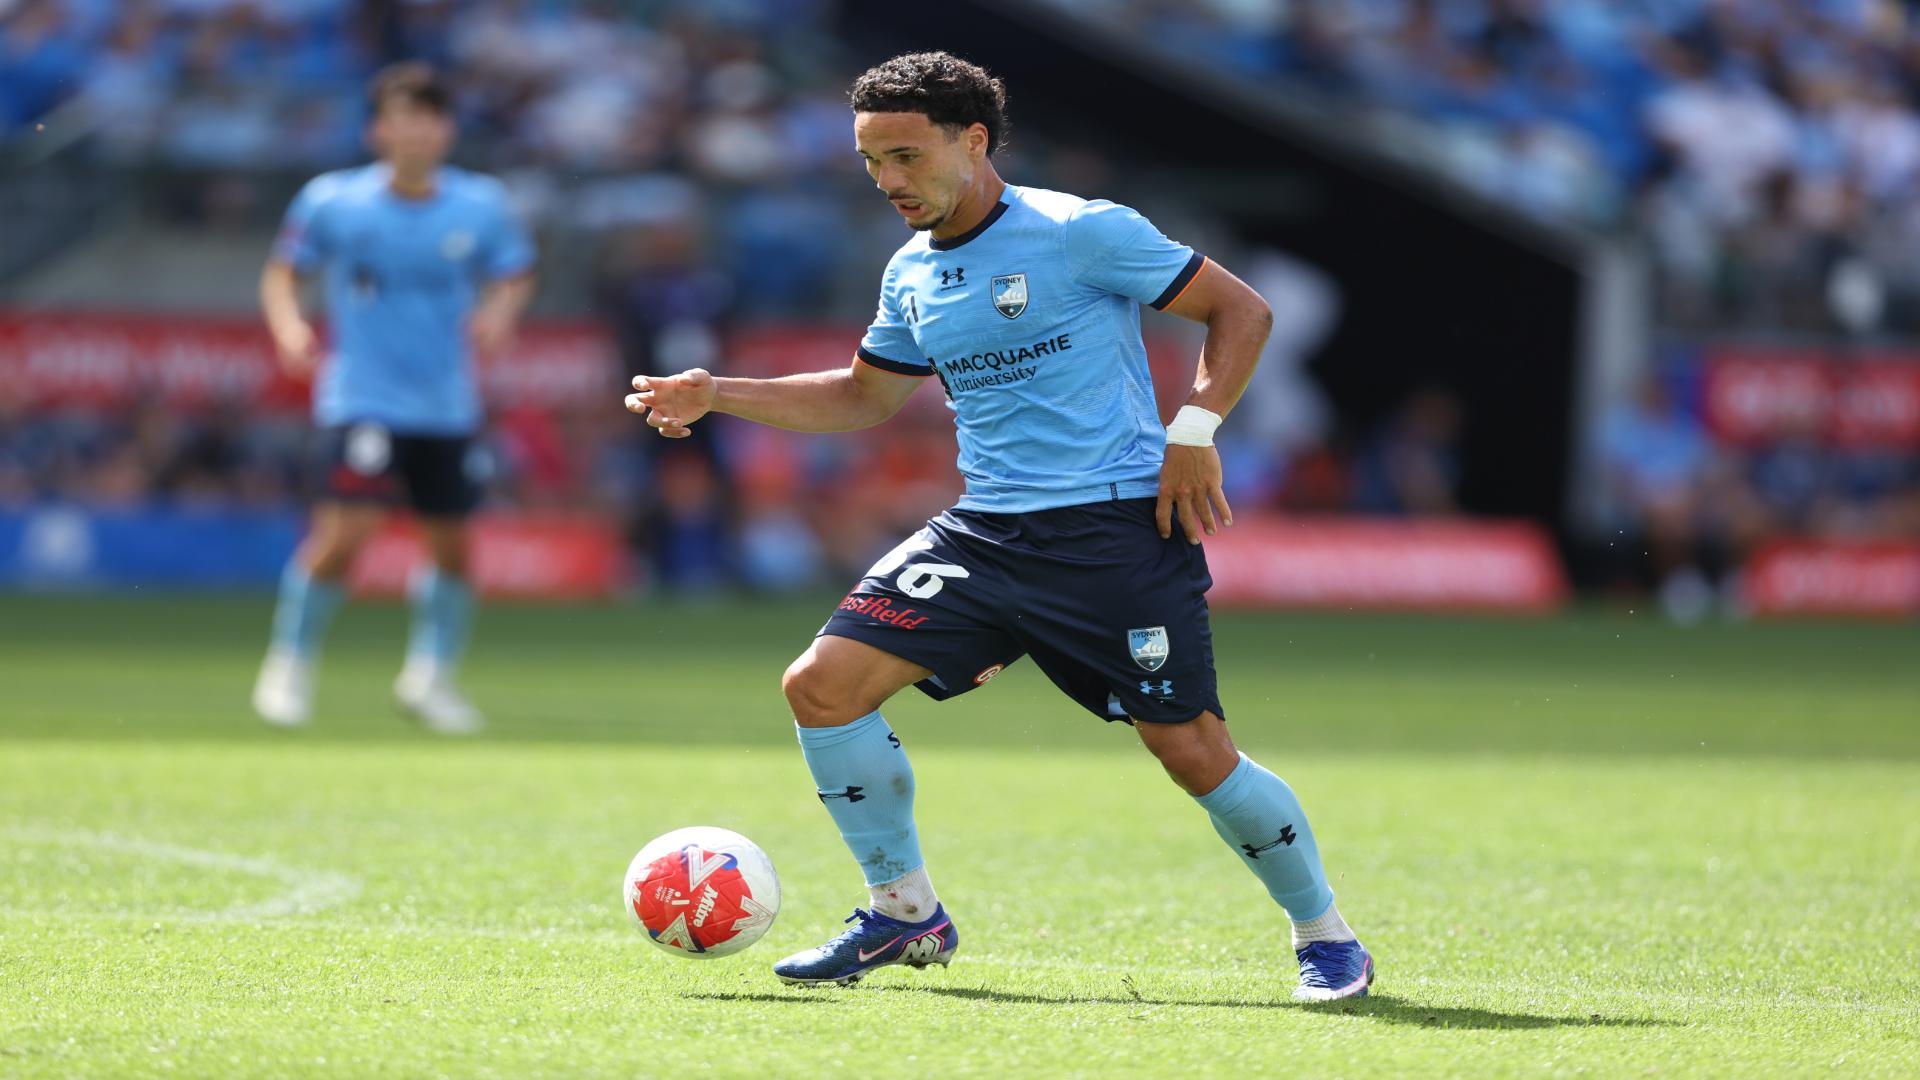
Youlley sparks Sydney's comeback with a beauty from range
Rhys Youlley fires home from outside the box as Sydney FC fight back to claim a 2-1 win.
 Video
Nam Tae-Hee doubles Roar's lead with a screamer
The South Korean star scores a stunning volley in his A-League debut for Brisbane against the Perth Glory.
 ESPN
A-League Men Stocks Round 1: I've got chulls
Each week, ESPN's experts will take you through the weekend's action across the A-League Men and the A-League Women to give you the lowdown on whose stocks are up, whose stocks are down, and what has the people talking coming out of the weekend.