Japanese J.League
FT
Friday, May 1, 2026


| 1st | 2nd | 3rd | 4th | OT | T | |
|---|---|---|---|---|---|---|
| MITO | 1 | 0 | 0 | 0 | 3 | 1 |
| YOK | 1 | 0 | 0 | 0 | 1 | 1 |
Mito Hollyhock win 3-1 on penalties · Nissan Stadium · 23,997 att.
Team Stats
5
Fouls
8
1
Yellow Cards
1
0
Red Cards
0
3
Offsides
1
8
Corner Kicks
4
3
Saves
6
63.9
Possession
36.1
19
SHOTS
10
7
ON GOAL
4
0.4
On Target %
0.4
0
Penalty Goals
0
0
Penalty Kicks Taken
0
375
Accurate Passes
184
474
Passes
274
0.8
Pass Completion %
0.7
12
Accurate Crosses
7
38
Crosses
12
0.3
Cross %
0.6
72
Long Balls
65
30
Accurate Long Balls
21
0.4
Long Balls %
0.3
5
Blocked Shots
3
4
Effective Tackles
8
7
Tackles
18
0.6
Tackle %
0.4
5
Interceptions
6
13
Effective Clearances
46
13
Clearances
46
Head to Head
MITO leads series 2-0
Lineups
YOK · 4-2-3-1
- 1Il-Kyu ParkG
- 33Kosei SuwamaCD-L
- 44Thomas DengCD-R
- 35Sekitomi KantaLB
- 2Ren KatoRB
- 19Tevis GabrielAM
- 29Aruto HiguchiLM
- 28Riku YamaneRM
- 9Kaina TanimuraF
- 46Hiroto AsadaAM-L
- 18George OnaiwuAM-R
MITO · 4-4-2
- 34Konosuke NishikawaG
- 17Kenta ItakuraCD-L
- 2Danilo CardosoCD-R
- 7Sho OmoriLB
- 25Takumi MaseRB
- 3Koshi OsakiCM-L
- 19Taishi SenbaCM-R
- 14Mizuki AraiLM
- 70Matheus Leiria Dos SantosRM
- 10Arata WantanabeCF-L
- 29Keisuke TadaCF-R
Timeline
- 5' Kaina Tanimura (Yokohama F. Marinos) Goal - Header at 5'
- 27' Arata Wantanabe (Mito Hollyhock) Goal at 27'
- 33' Danilo Cardoso (Mito Hollyhock) Yellow Card at 33'
- 42' Takeshi Ushizawa (Mito Hollyhock) Substitution at 42'
- 56' Jun Amano (Yokohama F. Marinos) Substitution at 56'
- 56' Ryo Miyaichi (Yokohama F. Marinos) Substitution at 56'
- 56' Kouta Watanabe (Yokohama F. Marinos) Substitution at 56'
- 68' Yoshiki Torikai (Mito Hollyhock) Substitution at 68'
- 68' Ryo Nemoto (Mito Hollyhock) Substitution at 68'
- 70' Jordy Croux (Yokohama F. Marinos) Substitution at 70'
- 71' Koki Ando (Mito Hollyhock) Substitution at 71'
- 73' Kosei Suwama (Yokohama F. Marinos) Yellow Card at 73'
- 78' Jeisson Quiñones (Yokohama F. Marinos) Substitution at 78'
- 86' Shota Yamashita (Mito Hollyhock) Substitution at 86'
- 88' Dean David (Yokohama F. Marinos) Substitution at 88'
- 90'
- 91' Konosuke Nishikawa (Mito Hollyhock) Penalty - Saved at 91'
- 94' Konosuke Nishikawa (Mito Hollyhock) Penalty - Saved at 94'
- 96'
Japanese J1 League News
All news ESPN
Socceroos transfer tracker: Where Australia's stars will play in 2026-27
Transfer deadlines are hitting across the globe and, with it, bringing to an end a window that has seen a remarkable surge in interest in players who represented the Socceroos at the FIFA World Cup.
 ESPN
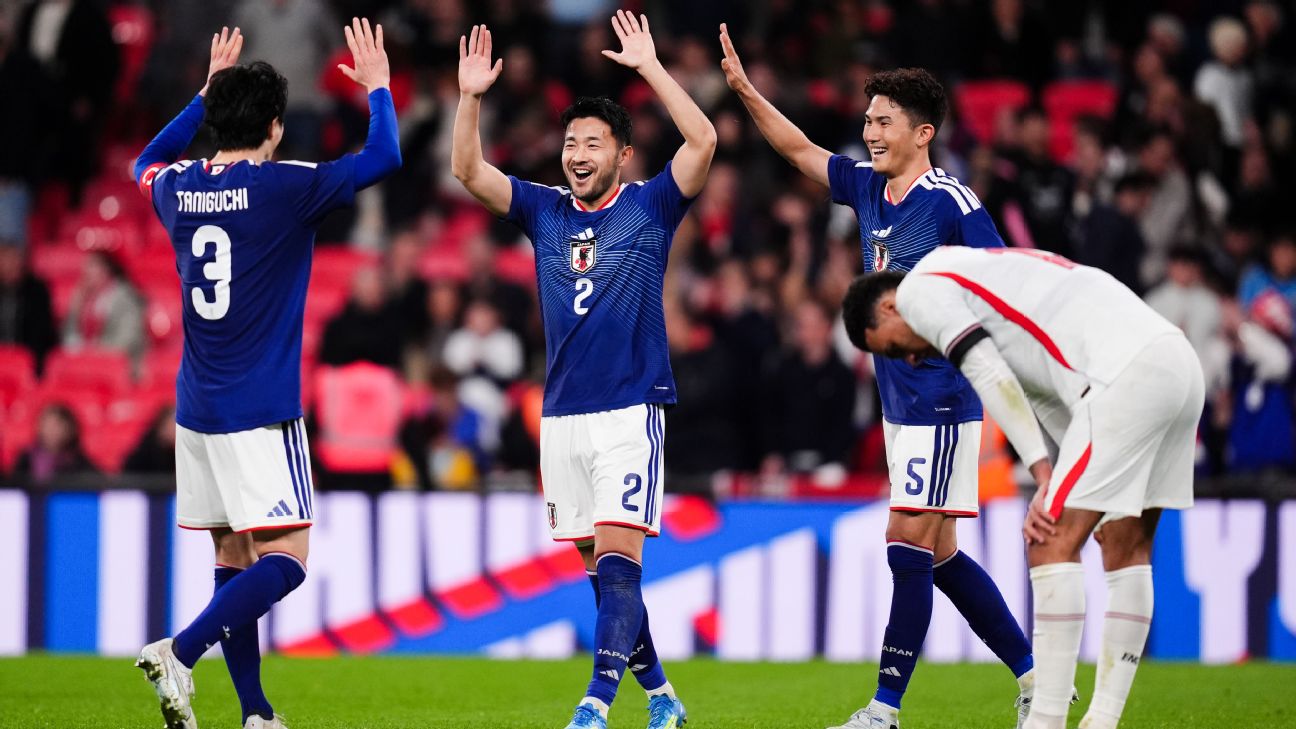
Japan 'came here to win the World Cup, not fun' - Yukinari Sugawara
Japan wingback Yukinari Sugawara has reiterated that his team are at the World Cup not just to participate, but to win it.
 News
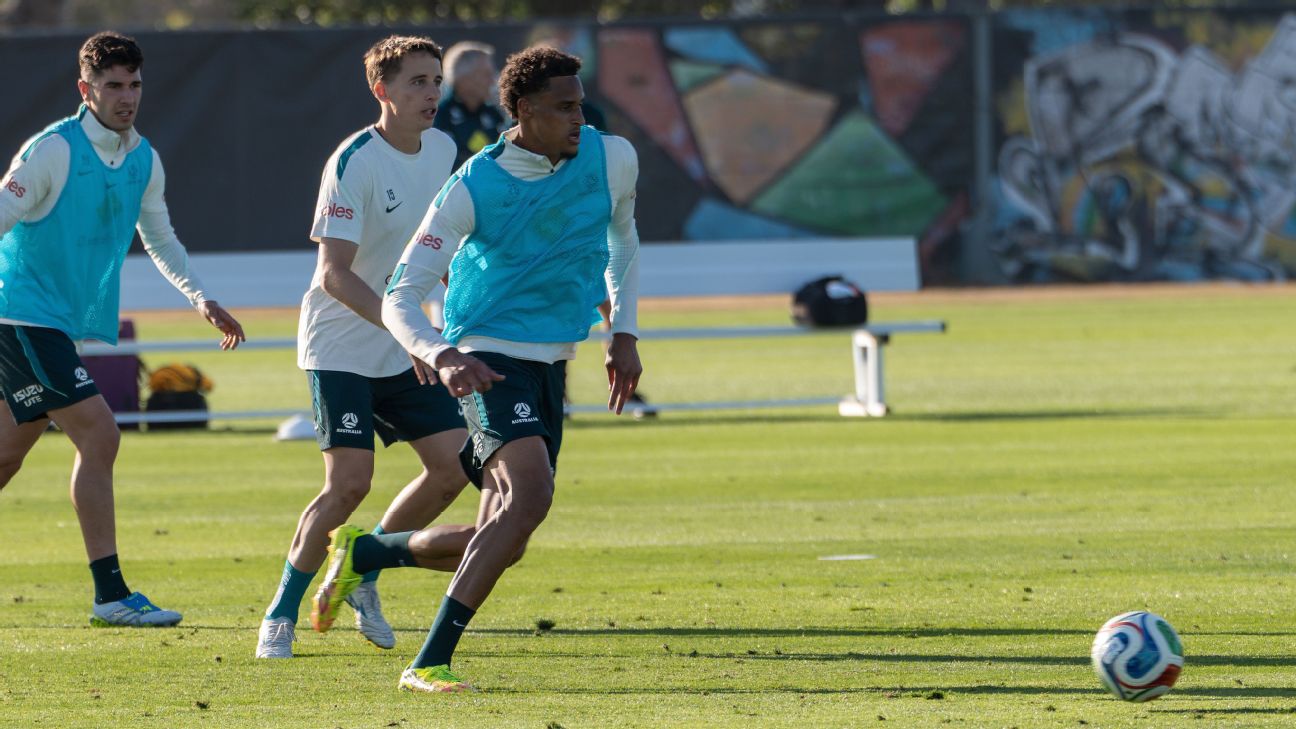
Tete Yengi credits journeyman career for World Cup call-up
Socceroos bolter Tete Yengi says his journey to the national team has not been straightforward, but he believes these adventures have played a key role in his pursuit of becoming the "ultimate player" and, more importantly, a World Cup representative.
 ESPN
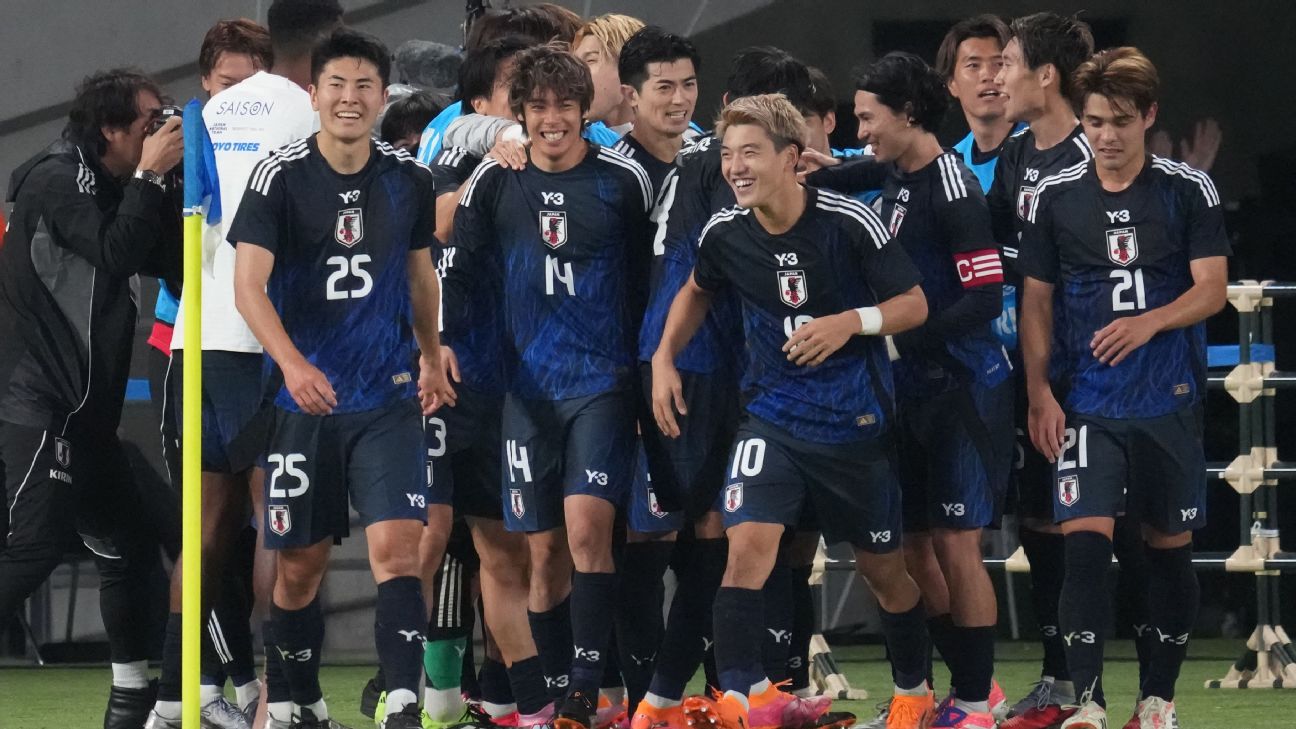
Why Japan could be the most exciting team at the 2026 FIFA World Cup
Even with a couple of key players out through injury, Japan could still be the most exciting team at the 2026 World Cup.