
Australian A-League Men

FT Friday, December 14, 2018
Melbourne Victory WWWWW 4
–
Brisbane Roar FC LDWLL 2
1st2ndT
MBV404
BRI202
Suncorp Stadium · 10,289 att. · ESPN+

Match Report

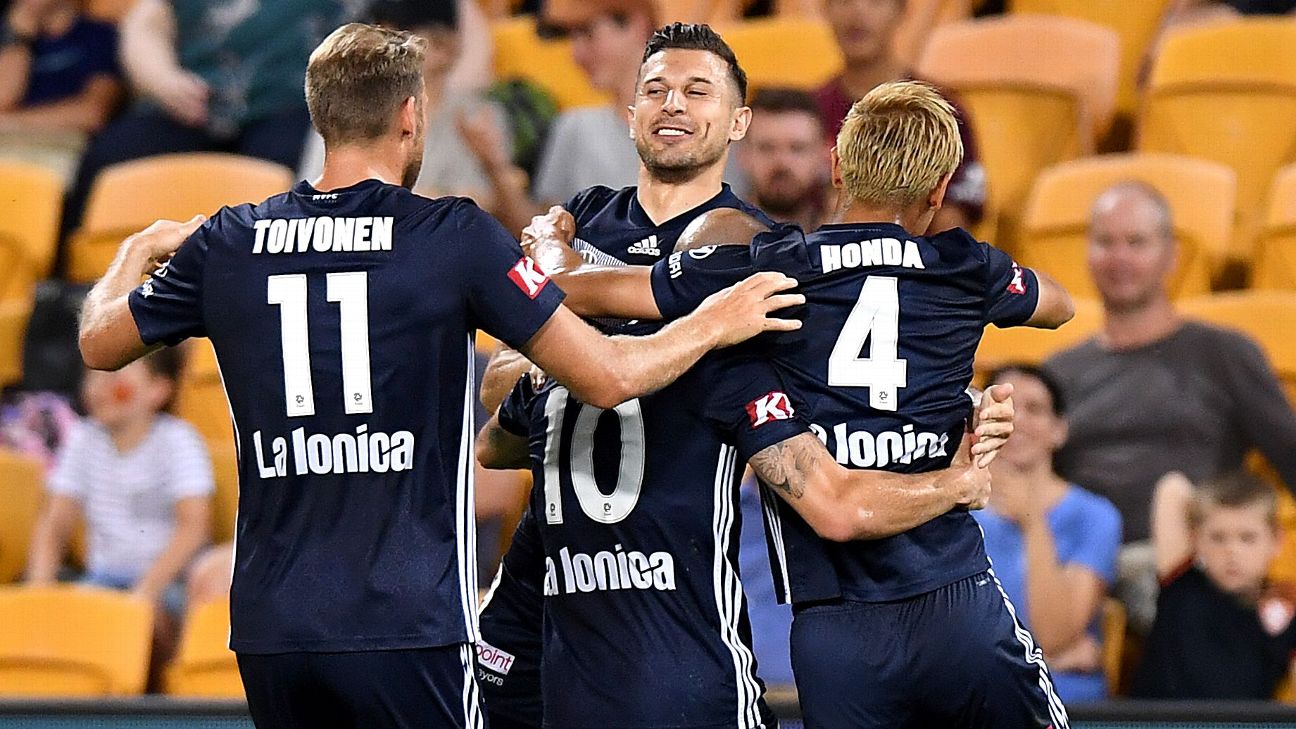
Bradley Kanaris/Getty Images

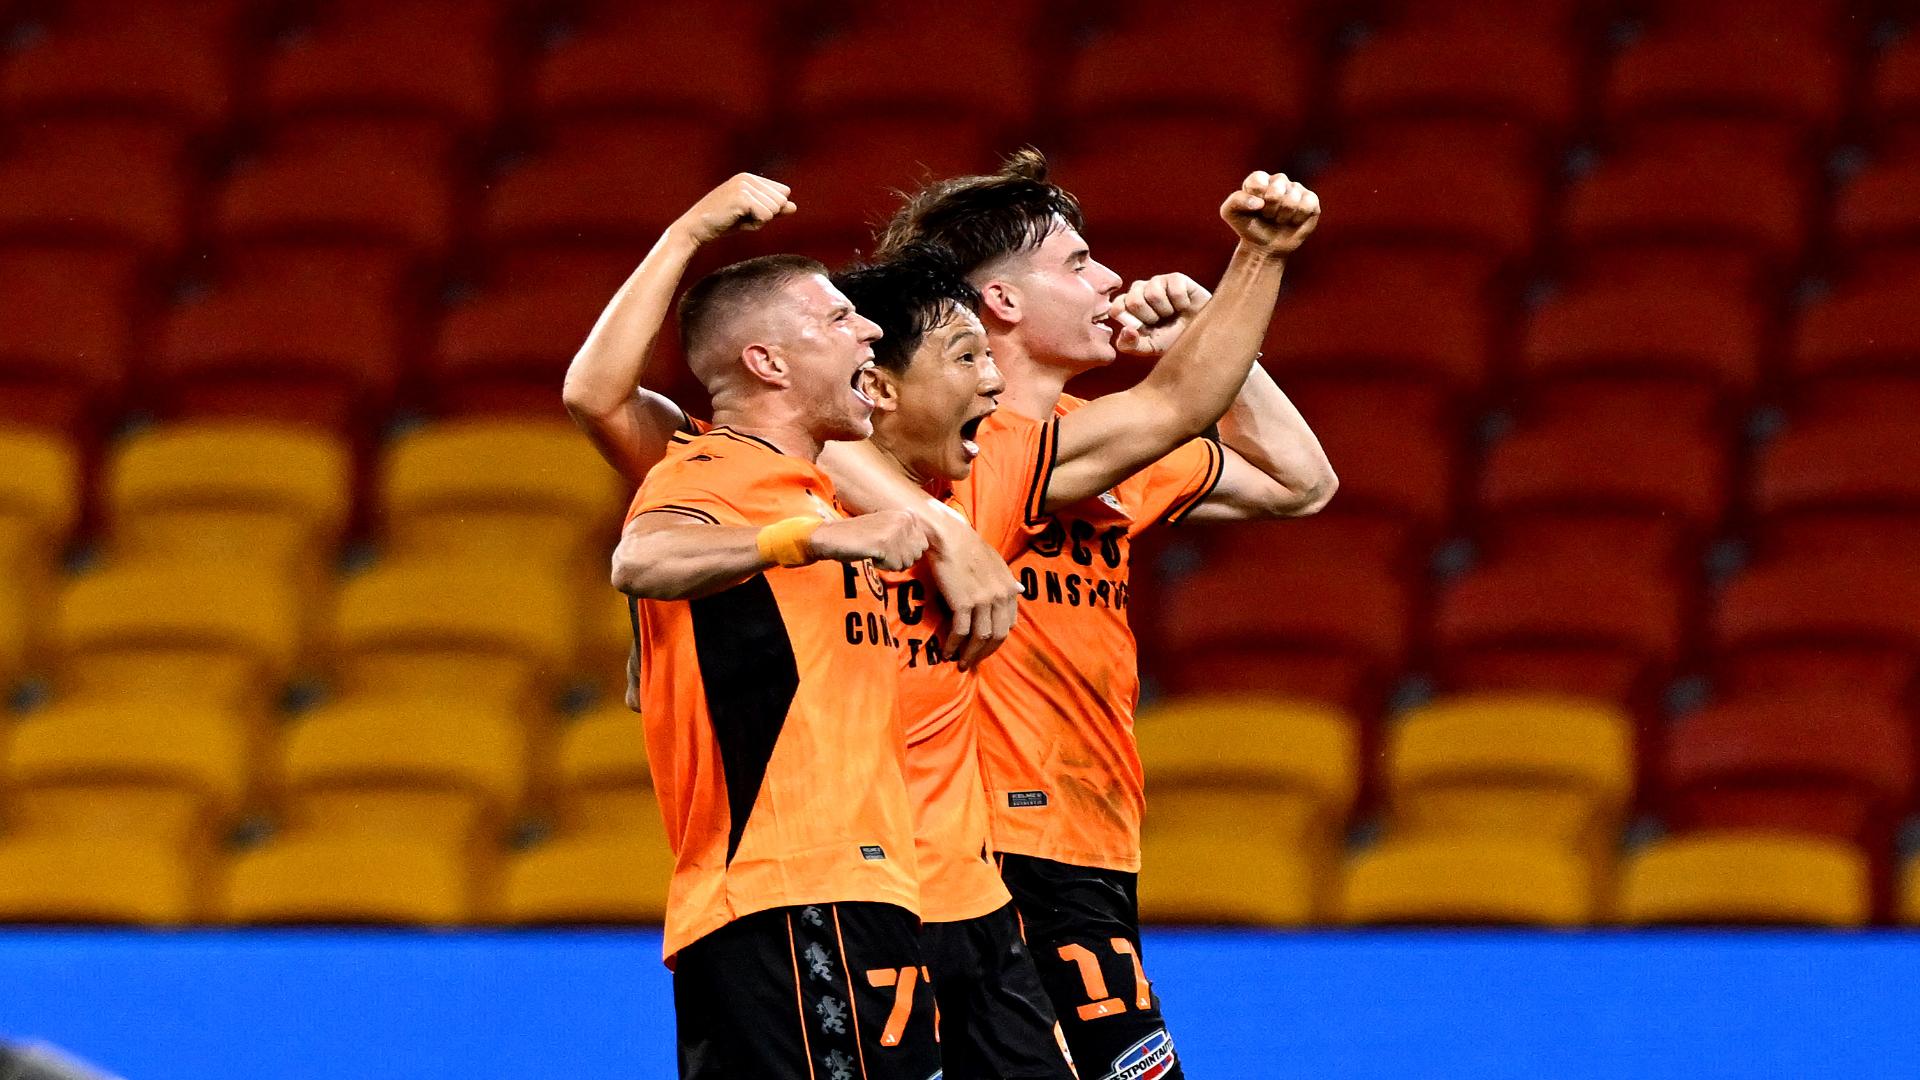
Kosta Barbarouses hits brace as Melbourne Victory beat Brisbane Roar in classic

A-League

Full story at ESPN →

Team Stats

16
Fouls
14
1
Yellow Cards
3
0
Red Cards
1
3
Offsides
0
5
Corner Kicks
3
2
Saves
0
74.1
Possession
25.9
11
SHOTS
6
4
ON GOAL
5
0.4
On Target %
0.8
1
Penalty Goals
1
1
Penalty Kicks Taken
1
667
Accurate Passes
174
745
Passes
256
0.9
Pass Completion %
0.7
4
Accurate Crosses
4
16
Crosses
6
0.3
Cross %
0.7
37
Long Balls
47
23
Accurate Long Balls
21
0.6
Long Balls %
0.4
2
Blocked Shots
1
5
Effective Tackles
7
6
Tackles
19
0.8
Tackle %
0.4
13
Interceptions
22
11
Effective Clearances
23
11
Clearances
23

Head to Head

Series tied 2-2-1

Lineups

BRI · 4-2-3-1

  1. 21Jamie YoungG
  2. 4Daniel BowlesCD-L
  3. 6Avraam PapadopoulosCD-R
  4. 24Connor O'TooleLB
  5. 2Dane InghamRB
  6. 13Stefan MaukAM
  7. 14Álex LópezLM
  8. 7Thomas KristensenRM
  9. 9Adam TaggartF
  10. 17Matt McKayAM-L
  11. 11Eric BauthéacAM-R

Substitutes

  1. 8Jacob PepperSUB
  2. 1Brendan WhiteSUB
  3. 23Dylan Wenzel-HallsSUB
  4. 26Nicholas D'AgostinoSUB
  5. 33HenriqueSUB

MBV · 4-3-3

  1. 20Lawrence ThomasG
  2. 6Leigh BroxhamCD-L
  3. 14Thomas DengCD-R
  4. 3Corey BrownLB
  5. 2Storm RouxRB
  6. 21Carl ValeriCM
  7. 8Terry AntonisLM
  8. 4Keisuke HondaRM
  9. 10James TroisiF
  10. 11Ola ToivonenLF
  11. 9Kosta BarbarousesRF

Substitutes

  1. 13Birkan KirdarSUB
  2. 1Matt ActonSUB
  3. 22Nicholas AnsellSUB
  4. 16Josh HopeSUB
  5. 19Rahmat AkbariSUB

Timeline

  1. 13' Goal! Brisbane Roar FC 0, Melbourne Victory 1. Kosta Barbarouses (Melbourne Victory) right footed shot from the centre of the box to the centre of the goal. Assisted by James Troisi.
  2. 19' Éric Bautheac (Brisbane Roar FC) is shown the yellow card for a bad foul.
  3. 21' Second yellow card to Éric Bautheac (Brisbane Roar FC).
  4. 24' Leigh Broxham (Melbourne Victory) is shown the yellow card for a bad foul.
  5. 27' Goal! Brisbane Roar FC 1, Melbourne Victory 1. Adam Taggart (Brisbane Roar FC) converts the penalty with a right footed shot to the centre of the goal.
  6. 31' Daniel Bowles (Brisbane Roar FC) is shown the yellow card for a bad foul.
  7. 32' Goal! Brisbane Roar FC 1, Melbourne Victory 2. Ola Toivonen (Melbourne Victory) left footed shot from the centre of the box to the top left corner. Assisted by Corey Brown with a cross.
  8. 40' Goal! Brisbane Roar FC 1, Melbourne Victory 3. Keisuke Honda (Melbourne Victory) converts the penalty with a left footed shot to the bottom left corner.
  9. 40' Adam Taggart (Brisbane Roar FC) is shown the yellow card.
  10. 42' Own Goal by Ola Toivonen, Melbourne Victory. Brisbane Roar FC 2, Melbourne Victory 3.
  11. 45'+2' Goal! Brisbane Roar FC 2, Melbourne Victory 4. Kosta Barbarouses (Melbourne Victory) right footed shot from the centre of the box to the bottom left corner. Assisted by James Troisi following a corner.
  12. 62' Substitution, Brisbane Roar FC. Henrique replaces Álex López.
  13. 62' Substitution, Brisbane Roar FC. Nicholas D'Agostino replaces Stefan Mauk because of an injury.
  14. 70' Matt McKay (Brisbane Roar FC) is shown the yellow card for a bad foul.
  15. 77' Substitution, Melbourne Victory. Nicholas Ansell replaces Thomas Deng because of an injury.
  16. 80' Substitution, Melbourne Victory. Joshua Hope replaces James Troisi.
  17. 87' Substitution, Brisbane Roar FC. Dylan Wenzel-Halls replaces Adam Taggart.
  18. 88' Substitution, Melbourne Victory. Rahmat Akbari replaces Carl Valeri.

A-League Men News

All news