
Australian A-League Men

FT Wednesday, August 5, 2020
Brisbane Roar FC WWWLW 1
–
Wellington Phoenix WLWDL 1
1st2ndT
BRI011
WEL011
McDonald Jones Stadium · ESPN+

Match Report

Ashley Feder/Getty Images

Gary Hooper secures Wellington Phoenix A-League finals spot after draw with Roar

A-League

Full story at ESPN →

Team Stats

16
Fouls
14
2
Yellow Cards
1
0
Red Cards
0
1
Offsides
1
5
Corner Kicks
8
8
Saves
4
42.5
Possession
57.5
20
SHOTS
21
5
ON GOAL
9
0.3
On Target %
0.4
0
Penalty Goals
0
0
Penalty Kicks Taken
0
301
Accurate Passes
469
407
Passes
551
0.7
Pass Completion %
0.9
5
Accurate Crosses
4
15
Crosses
23
0.3
Cross %
0.2
69
Long Balls
59
30
Accurate Long Balls
27
0.4
Long Balls %
0.5
9
Blocked Shots
3
7
Effective Tackles
6
12
Tackles
10
0.6
Tackle %
0.6
9
Interceptions
7
13
Effective Clearances
13
13
Clearances
13

Head to Head

Series tied 2-2-1

Lineups

WEL · 4-4-2

  1. 1Stefan MarinovicG
  2. 4Te Atawhai Hudson-WihongiCD-L
  3. 27Steven TaylorCD-R
  4. 13Liberato CacaceLB
  5. 17Callan ElliotRB
  6. 5Ville Matti SteinmannCM-L
  7. 8Cameron DevlinCM-R
  8. 7Reno PiscopoLM
  9. 10Ulises DávilaRM
  10. 88Gary HooperCF-L
  11. 9David BallCF-R

Substitutes

  1. 21Callum McCowattSUB
  2. 11Jaushua SotirioSUB
  3. 30Zac JonesSUB
  4. 2Liam McGingSUB
  5. 12Brandon WilsonSUB
  6. 14Alex RuferSUB
  7. 31Ben WaineSUB

BRI · 3-5-2

  1. 21Jamie YoungG
  2. 5Tom AldredCD
  3. 6Macaulay GillespheyCD-L
  4. 2Scott NevilleCD-R
  5. 8Danny KimCM-L
  6. 10Bradden InmanCM-R
  7. 26Jay O'SheaAM
  8. 3Corey BrownLM
  9. 19Jack HingertRM
  10. 77Scott McDonaldCF-L
  11. 23Dylan Wenzel-HallsCF-R

Substitutes

  1. 4Daniel BowlesSUB
  2. 29Jordan Courtney-PerkinsSUB
  3. 1Max CrocombeSUB
  4. 7Jai InghamSUB
  5. 12Matthew RidentonSUB
  6. 27Kai TrewinSUB
  7. 20Aaron Amadi-HollowaySUB

Timeline

  1. 10' Tom Aldred (Brisbane Roar FC) is shown the yellow card for a bad foul.
  2. 12' Matti Steinmann (Wellington Phoenix) is shown the yellow card for a bad foul.
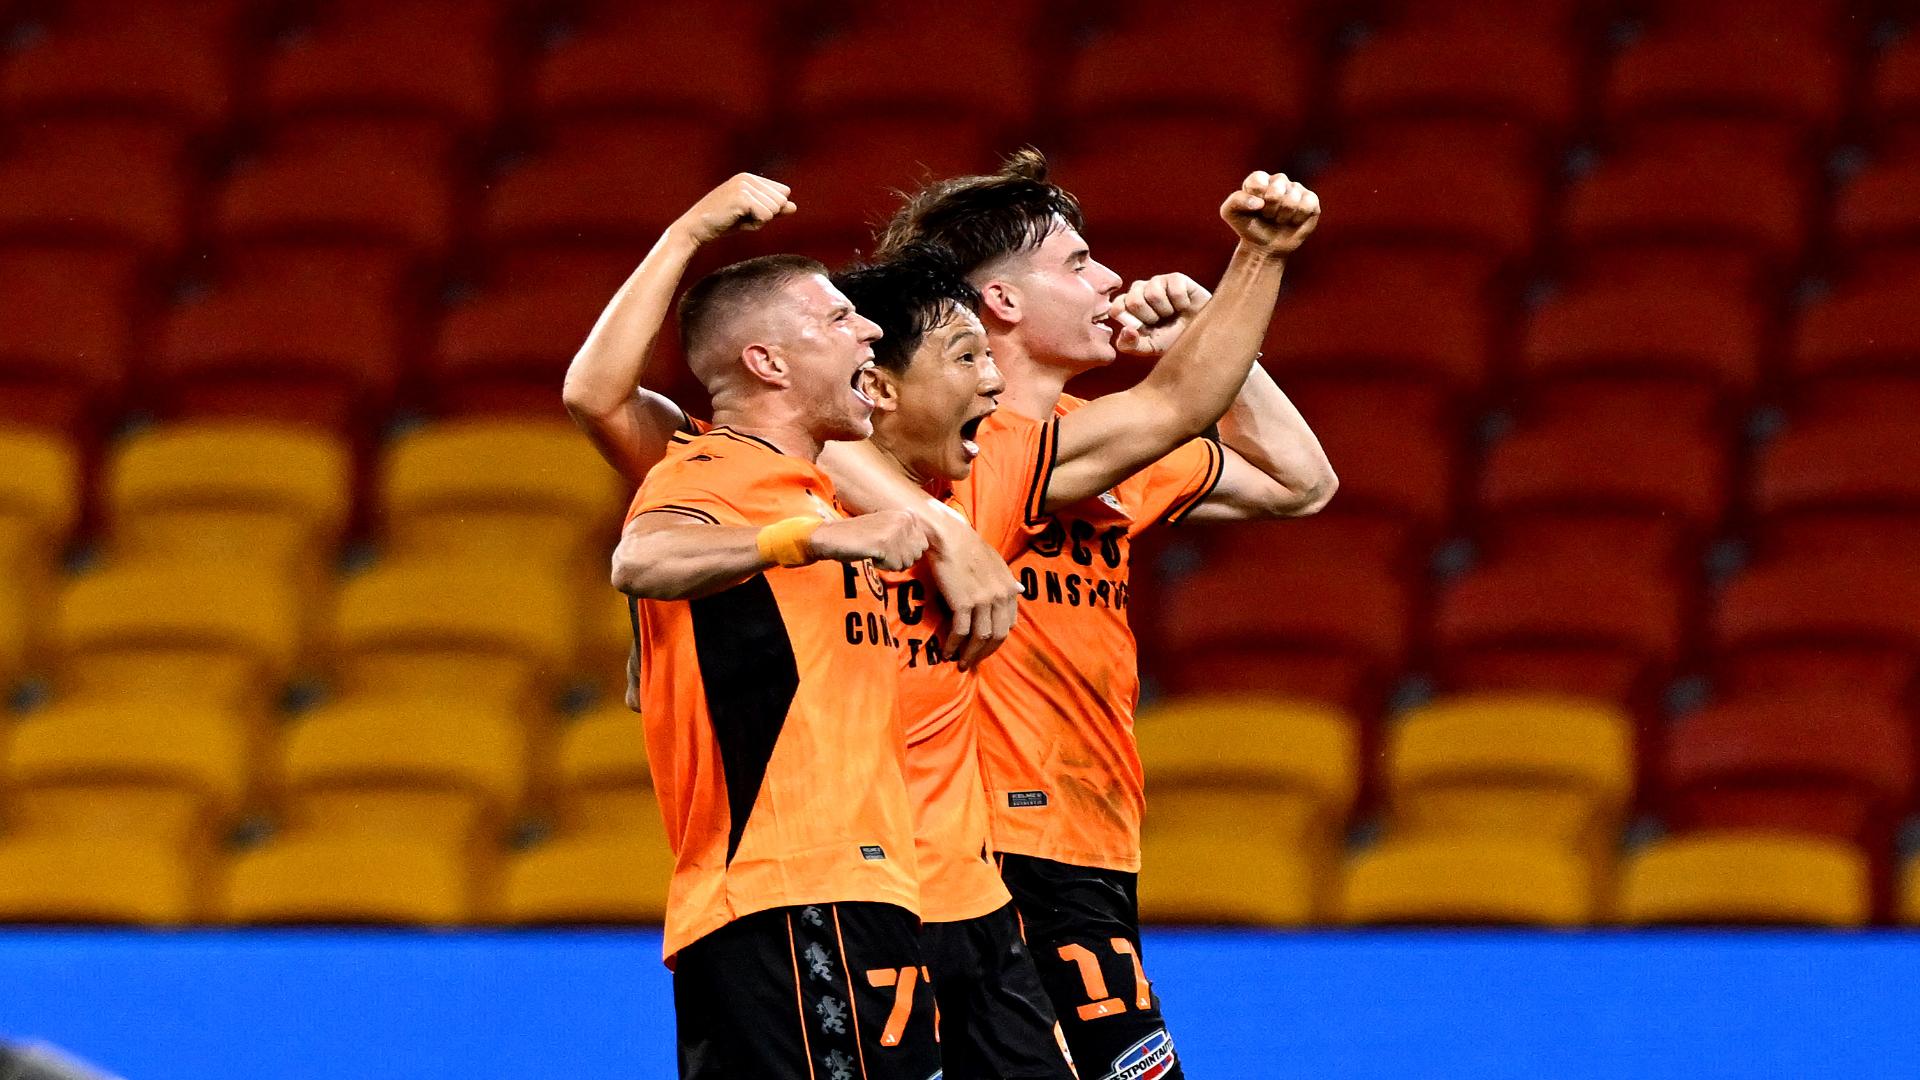
  3. 61' Goal! Wellington Phoenix 0, Brisbane Roar FC 1. Scott McDonald (Brisbane Roar FC) left footed shot from outside the box to the bottom left corner. Assisted by Jay O'Shea.
  4. 62' Substitution, Wellington Phoenix. Alex Rufer replaces Cameron Devlin.
  5. 66' Substitution, Brisbane Roar FC. Matthew Ridenton replaces Dylan Wenzel-Halls.
  6. 73' Substitution, Wellington Phoenix. Callum McCowatt replaces Ulises Dávila.
  7. 74' Matthew Ridenton (Brisbane Roar FC) is shown the yellow card for a bad foul.
  8. 80' Substitution, Wellington Phoenix. Jaushua Sotirio replaces Reno Piscopo.
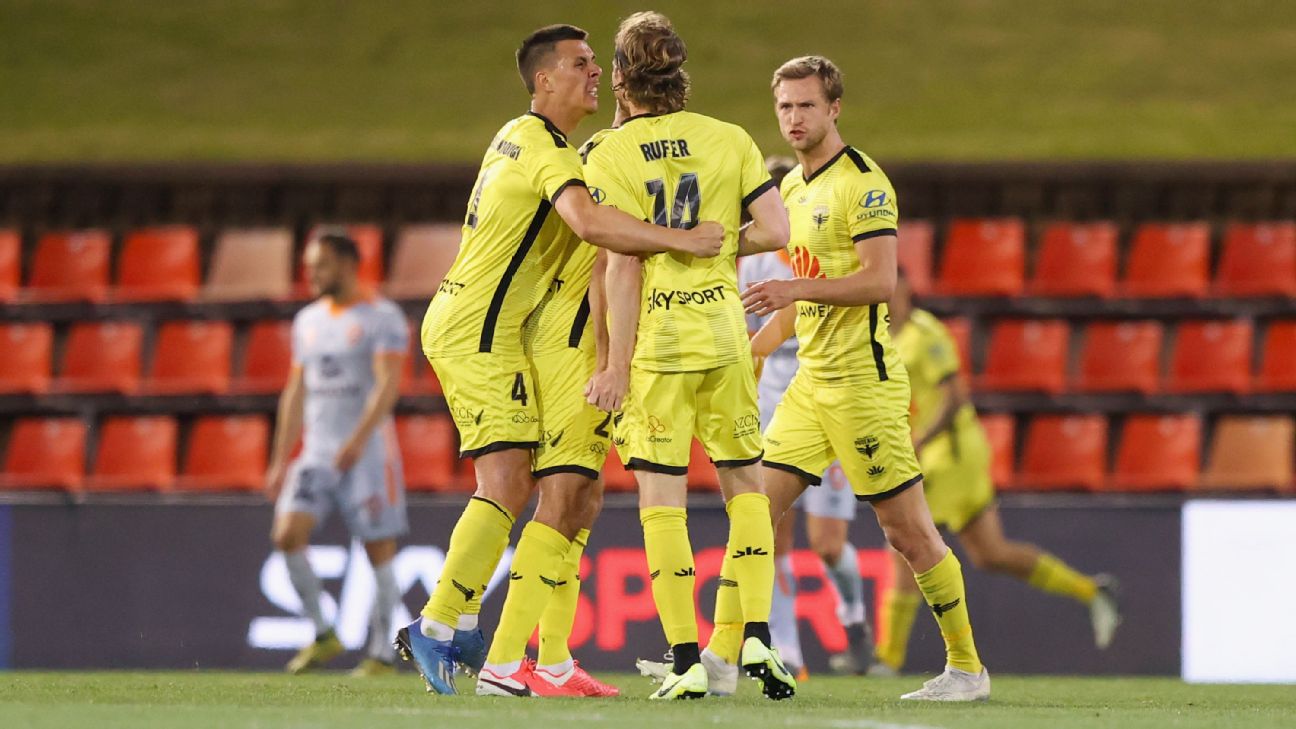
  9. 82' Goal! Wellington Phoenix 1, Brisbane Roar FC 1. Gary Hooper (Wellington Phoenix) right footed shot from the centre of the box to the bottom left corner.
  10. 87' Substitution, Brisbane Roar FC. Aaron Amadi-Holloway replaces Bradden Inman.

A-League Men News

All news