English National League
FT
Tuesday, September 14, 2021

| 1st | 2nd | T | |
|---|---|---|---|
| HAL | 1 | 1 | 2 |
| BOR | 2 | 0 | 2 |
Mangata Pay UK Stadium · 503 att.
Head to Head
BOR leads series 3-0-2
Lineups
BOR
- 1Nathan AshmoreG
- 5Will EvansD
- 3Oluwafemi IlesanmiD
- 12Jamal FyfieldD
- 17Jacob MendyD
- 19Kane SmithD
- 11Frankie RaymondM
- 7Josh ReesM
- 4Mark RickettsM
- 9Scott BodenF
- 10Tyrone MarshF
Substitutes
- 18Connor SmithSUB
- 14Adrian CliftonSUB
- 15Jack MunnsSUB
- 13Donnabhan GreenSUB
- 6David StephensSUB
HAL
- 1Sam JohnsonG
- 31Niall MaherD
- 6Tom BradburyD
- 21Tyrell WarrenD
- 18Javid Swaby-NeavinD
- 8Kieran GreenM
- 20Harvey GilmourM
- 26Martin WoodsM
- 25Jordan SlewF
- 11Billy WatersF
- 10Mathew WarburtonF
Substitutes
- 16Dom TearSUB
- 15Gerry McDonaghSUB
- 17Kian SpenceSUB
- 22Jack ValeSUB
- 7Jamie AllenSUB
Timeline
- 22' Tom Bradbury (FC Halifax Town) Goal at 22'
- 27' Josh Rees (Boreham Wood) Goal at 27'
- 38' Scott Boden (Boreham Wood) Goal at 38'
- 65' Jacob Mendy (Boreham Wood) Yellow Card at 65'
- 70' Jordan Slew (FC Halifax Town) Yellow Card at 70'
- 70' Jack Vale (FC Halifax Town) Substitution at 70'
- 75' Kian Spence (FC Halifax Town) Substitution at 75'
- 75' Jamie Allen (FC Halifax Town) Substitution at 75'
- 77' Connor Smith (Boreham Wood) Substitution at 77'
- 79' Billy Waters (FC Halifax Town) Goal at 79'
- 83' Adrian Clifton (Boreham Wood) Substitution at 83'
- 88' Jamal Fyfield (Boreham Wood) Yellow Card at 88'
- 90' David Stephens (Boreham Wood) Substitution at 90'
National League News
All news News
Forest Green to trial operating with no manager: 'We're going to try something new'
Forest Green Rovers owner Dale Vince has revealed that the club are going to try and operate without a manager and "see what happens."
 News
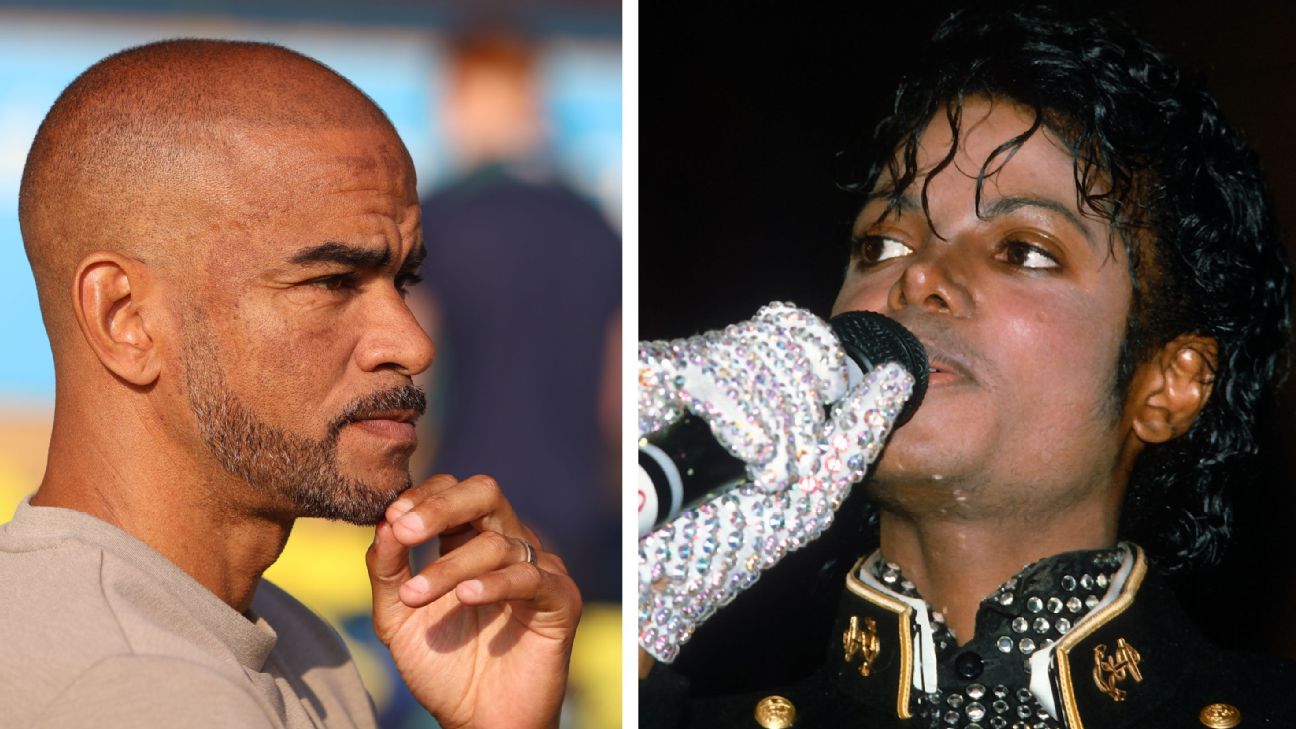
Explained: Why Kieron Dyer used Michael Jackson songs to baffle reporters
Southend head coach Kieron Dyer went a bit 'off the wall' with his comments during a press conference by slipping in names of Michael Jackson songs.
 News
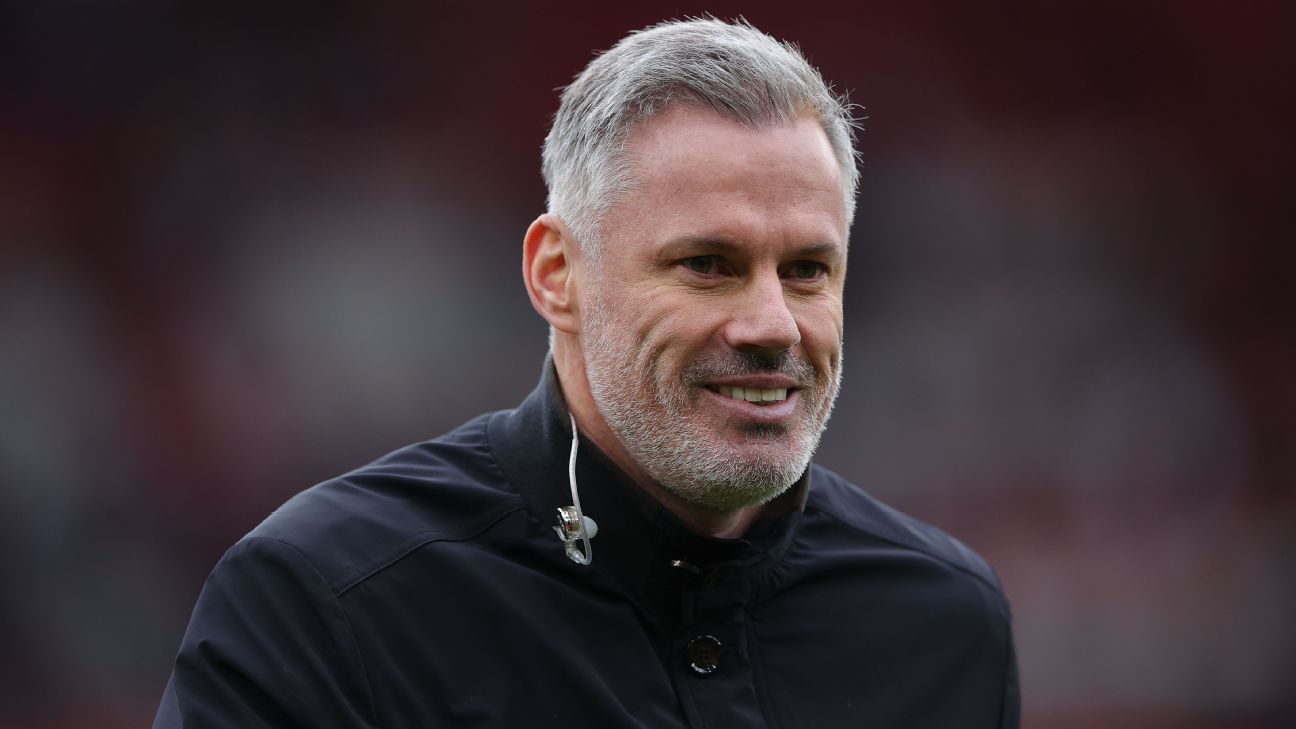
Jamie Carragher joins Marine as advisor, club explain why he's a 'huge help'
Jamie Carragher has been announced as an advisor to non-league side Marine.
 News
Rochdale return to EFL in dramatic playoff final comeback
Rochdale produced a dramatic late fightback from 2-0 down to clinch promotion back to the EFL with a penalty shoot-out victory over Boreham Wood.