Japanese J.League
FT
Sunday, July 21, 2024


| 1st | 2nd | T | |
|---|---|---|---|
| SAN | 1 | 3 | 4 |
| SAG | 0 | 1 | 1 |
Ekimae Real Estate Stadium · 12,144 att.
Team Stats
5
Fouls
13
0
Yellow Cards
2
0
Red Cards
0
0
Offsides
0
9
Corner Kicks
9
4
Saves
7
46
Possession
54
25
SHOTS
17
11
ON GOAL
5
0.4
On Target %
0.3
0
Penalty Goals
0
0
Penalty Kicks Taken
0
0
Accurate Passes
0
0
Passes
0
0.0
Pass Completion %
0.0
0
Accurate Crosses
0
0
Crosses
0
0.0
Cross %
0.0
0
Long Balls
0
0
Accurate Long Balls
0
0.0
Long Balls %
0.0
7
Blocked Shots
4
0
Effective Tackles
0
0
Tackles
0
0.0
Tackle %
0.0
0
Interceptions
0
0
Effective Clearances
0
0
Clearances
0
Head to Head
SAN leads series 3-0-2
Lineups
SAG · 4-2-3-1
- 71Il-Kyu ParkG
- 20Kim Tae-HyeonCD-L
- 2Kosuke YamazakiCD-R
- 88Yoichi NaganumaLB
- 42Wataru HaradaRB
- 77Vykintas SlivkaAM
- 5So KawaharaLM
- 6Akito FukutaRM
- 99Marcelo RyanF
- 13Ayumu YokoyamaAM-L
- 8Hikaru NakaharaAM-R
SAN · 3-4-2-1
- 1Keisuke OsakoG
- 4Hayato ArakiCD
- 27Osamu IyohaCD-L
- 15Shuto NakanoCD-R
- 14Taishi MatsumotoCM-L
- 33Tsukasa ShiotaniCM-R
- 24Shunki HigashiLM
- 13Naoto AraiRM
- 9Douglas VieiraF
- 10Marcos JúniorCF-L
- 77Yuki OhashiCF-R
Timeline
- 6' Kosuke Yamazaki (Sagan Tosu) Yellow Card at 6'
- 21' Marcos Júnior (Sanfrecce Hiroshima) Goal at 21'
- 41' Akito Fukuta (Sagan Tosu) Yellow Card at 41'
- 46' Marcelo Ryan (Sagan Tosu) Goal at 46'
- 61' Makoto Mitsuta (Sanfrecce Hiroshima) Substitution at 61'
- 61' Mutsuki Kato (Sanfrecce Hiroshima) Substitution at 61'
- 64' Cayman Togashi (Sagan Tosu) Substitution at 64'
- 71' Taishi Matsumoto (Sanfrecce Hiroshima) Goal at 71'
- 78' Yuki Horigome (Sagan Tosu) Substitution at 78'
- 78' Katsunori Ueebisu (Sagan Tosu) Substitution at 78'
- 86' Hiroshi Kiyotake (Sagan Tosu) Substitution at 86'
- 86' Kohei Tezuka (Sagan Tosu) Substitution at 86'
- 87' Yuki Ohashi (Sanfrecce Hiroshima) Goal at 87'
- 90' Takaaki Shichi (Sanfrecce Hiroshima) Substitution at 90'
- 90'+6' Makoto Mitsuta (Sanfrecce Hiroshima) Goal at 96'
- 90'+7' Toshihiro Aoyama (Sanfrecce Hiroshima) Substitution at 97'
- 90'+7' Yusuke Chajima (Sanfrecce Hiroshima) Substitution at 97'
Japanese J1 League News
All news ESPN
Socceroos transfer tracker: Where Australia's stars will play in 2026-27
Transfer deadlines are hitting across the globe and, with it, bringing to an end a window that has seen a remarkable surge in interest in players who represented the Socceroos at the FIFA World Cup.
 ESPN
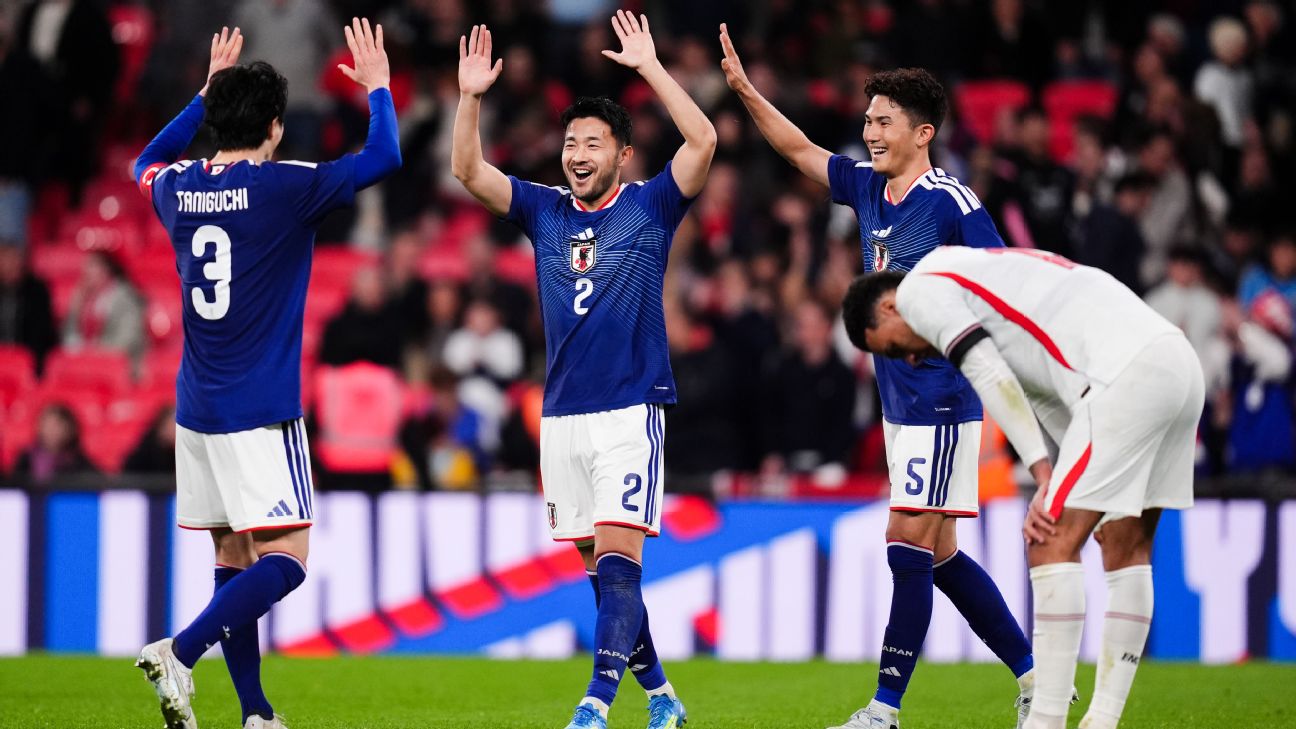
Japan 'came here to win the World Cup, not fun' - Yukinari Sugawara
Japan wingback Yukinari Sugawara has reiterated that his team are at the World Cup not just to participate, but to win it.
 News
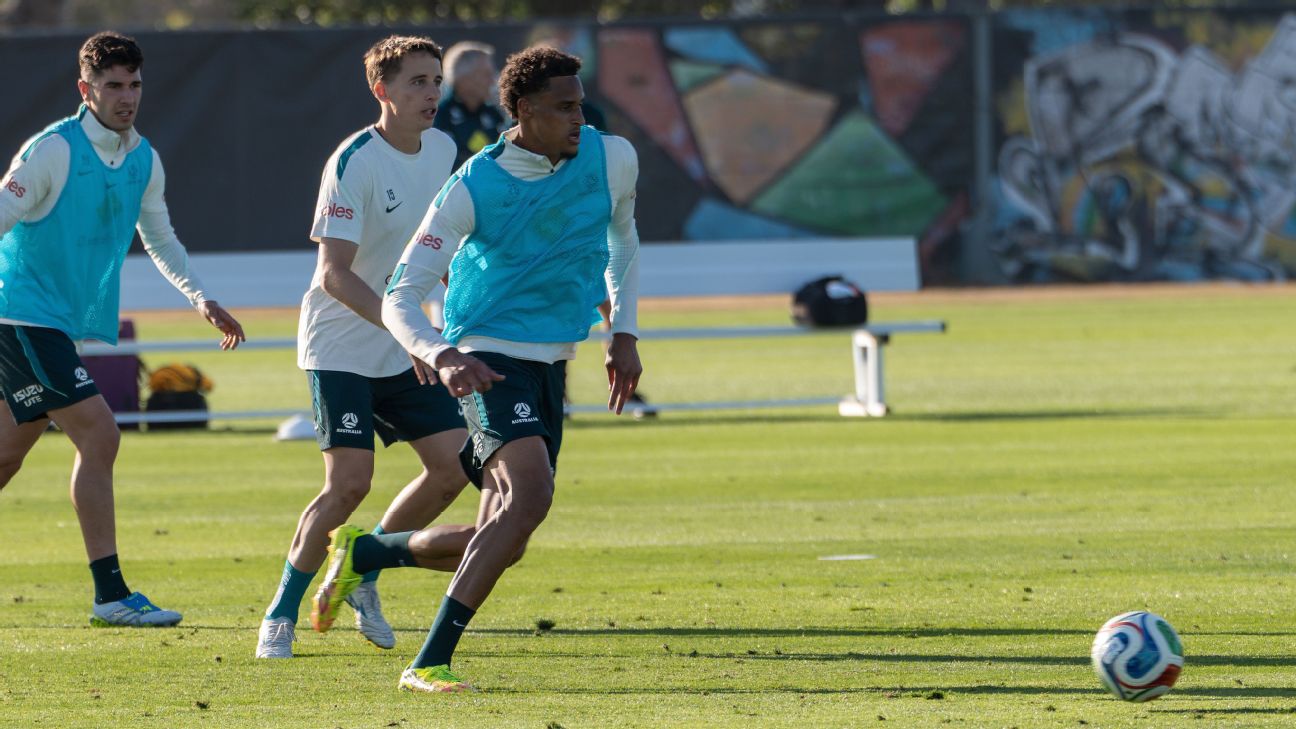
Tete Yengi credits journeyman career for World Cup call-up
Socceroos bolter Tete Yengi says his journey to the national team has not been straightforward, but he believes these adventures have played a key role in his pursuit of becoming the "ultimate player" and, more importantly, a World Cup representative.
 ESPN
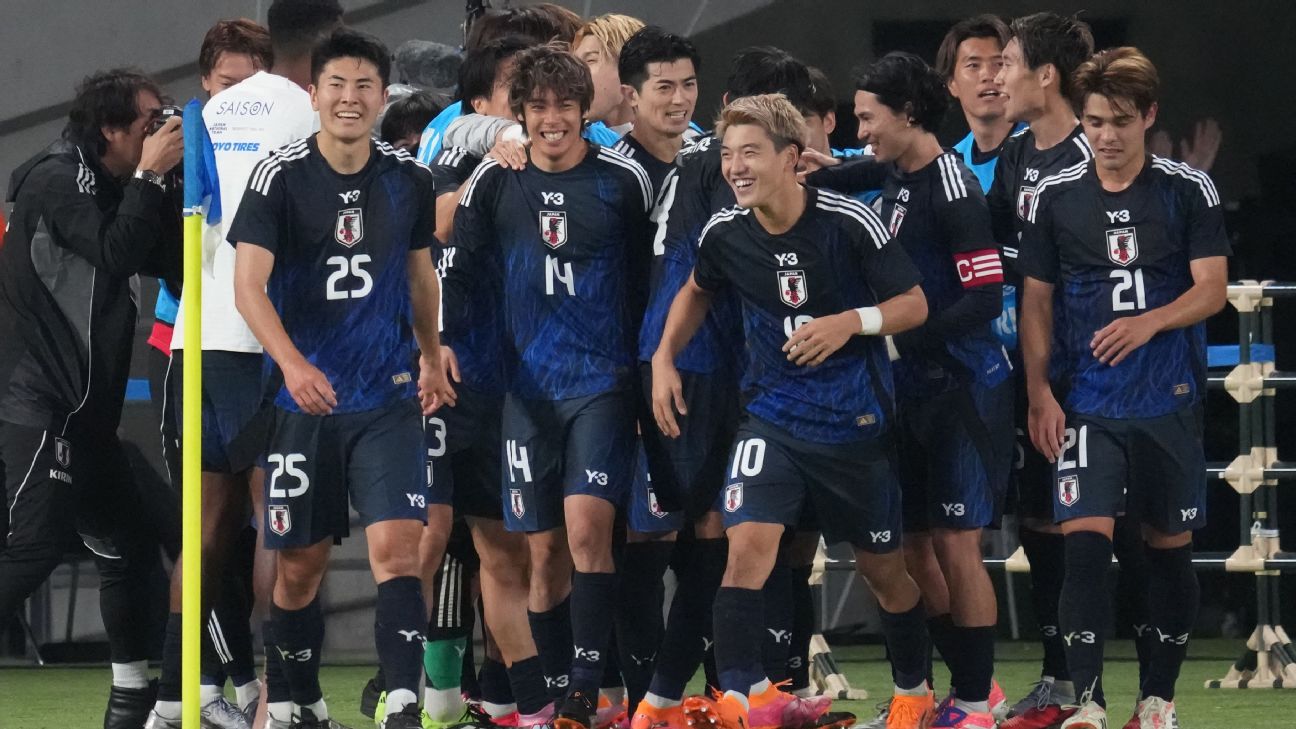
Why Japan could be the most exciting team at the 2026 FIFA World Cup
Even with a couple of key players out through injury, Japan could still be the most exciting team at the 2026 World Cup.