


Starc sets up hard-fought win for Australia
Australia were grateful for the 29 balls given up by Pakistan as the latter half of their innings collapsed, using them to secure a meritorious victory in the first ODI in the heat of Sharjah
Japanese J.League
| 1st | 2nd | T | |
|---|---|---|---|
| CON | 0 | 2 | 2 |
| URA | 0 | 0 | 0 |
Australia were grateful for the 29 balls given up by Pakistan as the latter half of their innings collapsed, using them to secure a meritorious victory in the first ODI in the heat of Sharjah
Series tied 2-2-1
 ESPN
Socceroos transfer tracker: Where Australia's stars will play in 2026-27
Transfer deadlines are hitting across the globe and, with it, bringing to an end a window that has seen a remarkable surge in interest in players who represented the Socceroos at the FIFA World Cup.
 ESPN
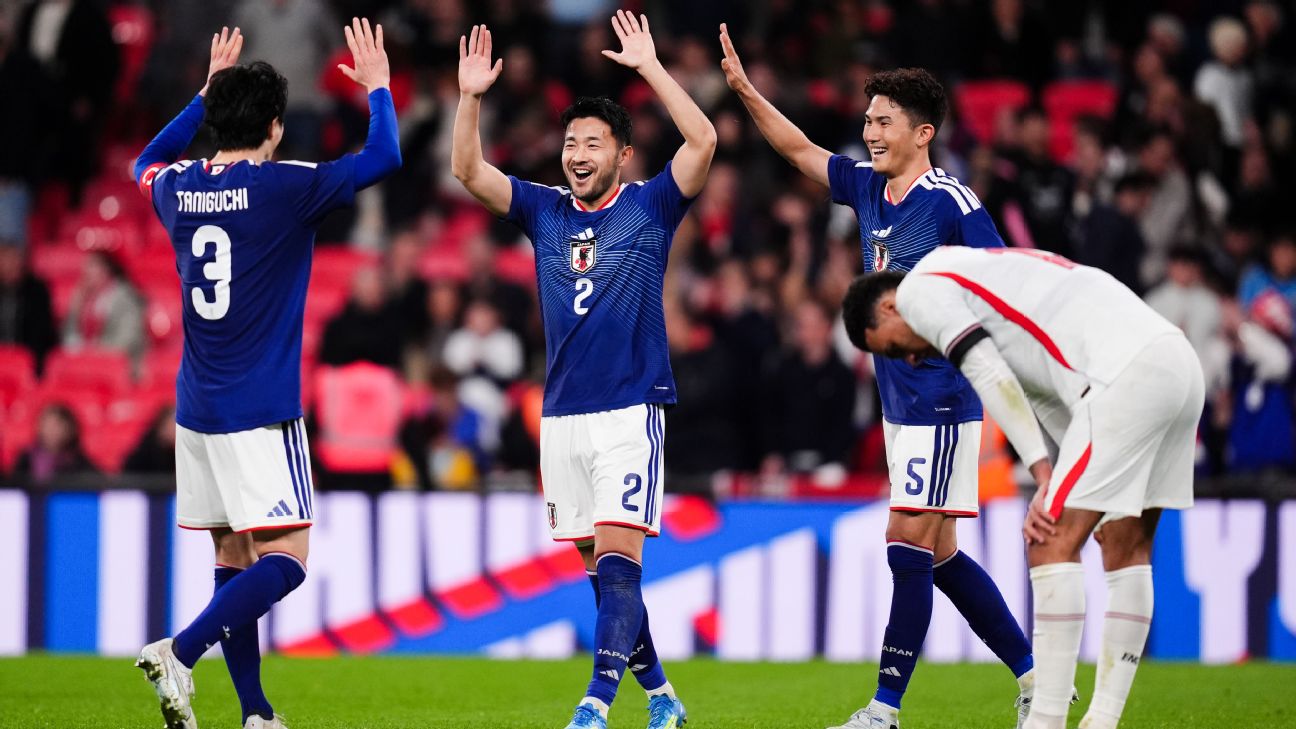
Japan 'came here to win the World Cup, not fun' - Yukinari Sugawara
Japan wingback Yukinari Sugawara has reiterated that his team are at the World Cup not just to participate, but to win it.
 News
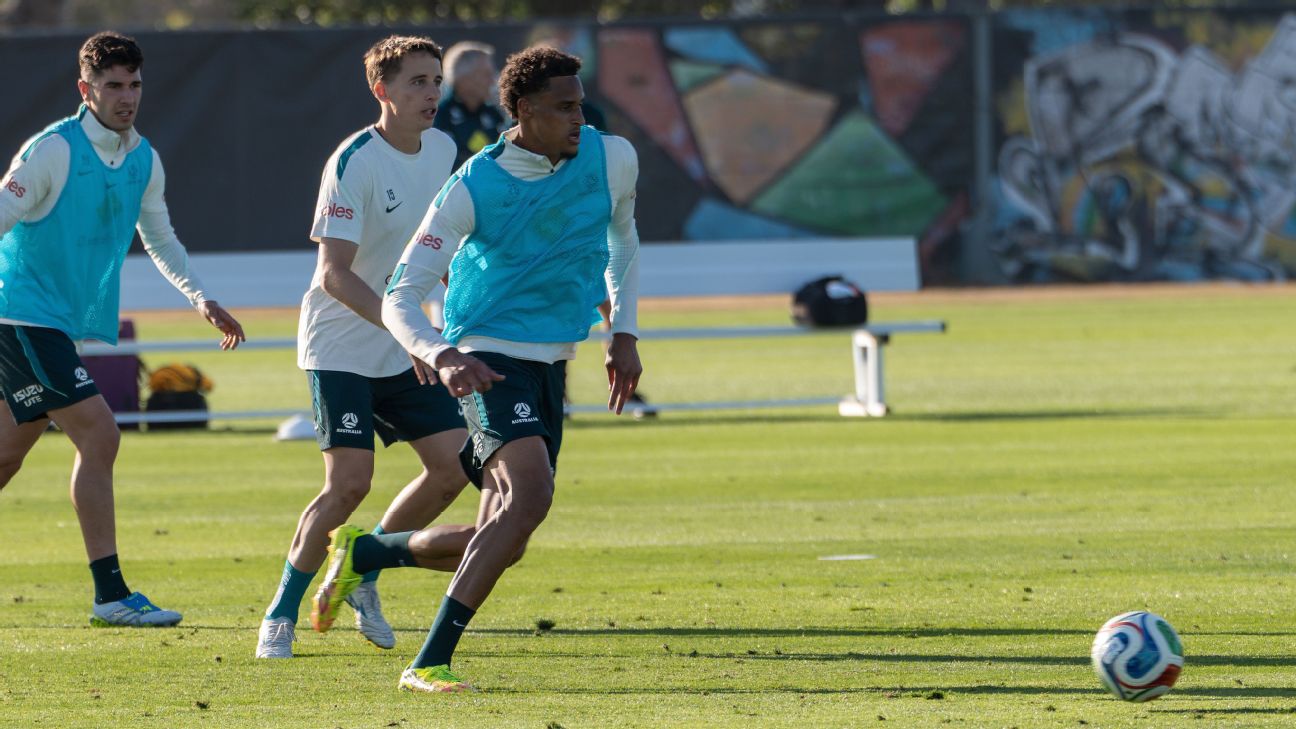
Tete Yengi credits journeyman career for World Cup call-up
Socceroos bolter Tete Yengi says his journey to the national team has not been straightforward, but he believes these adventures have played a key role in his pursuit of becoming the "ultimate player" and, more importantly, a World Cup representative.
 ESPN
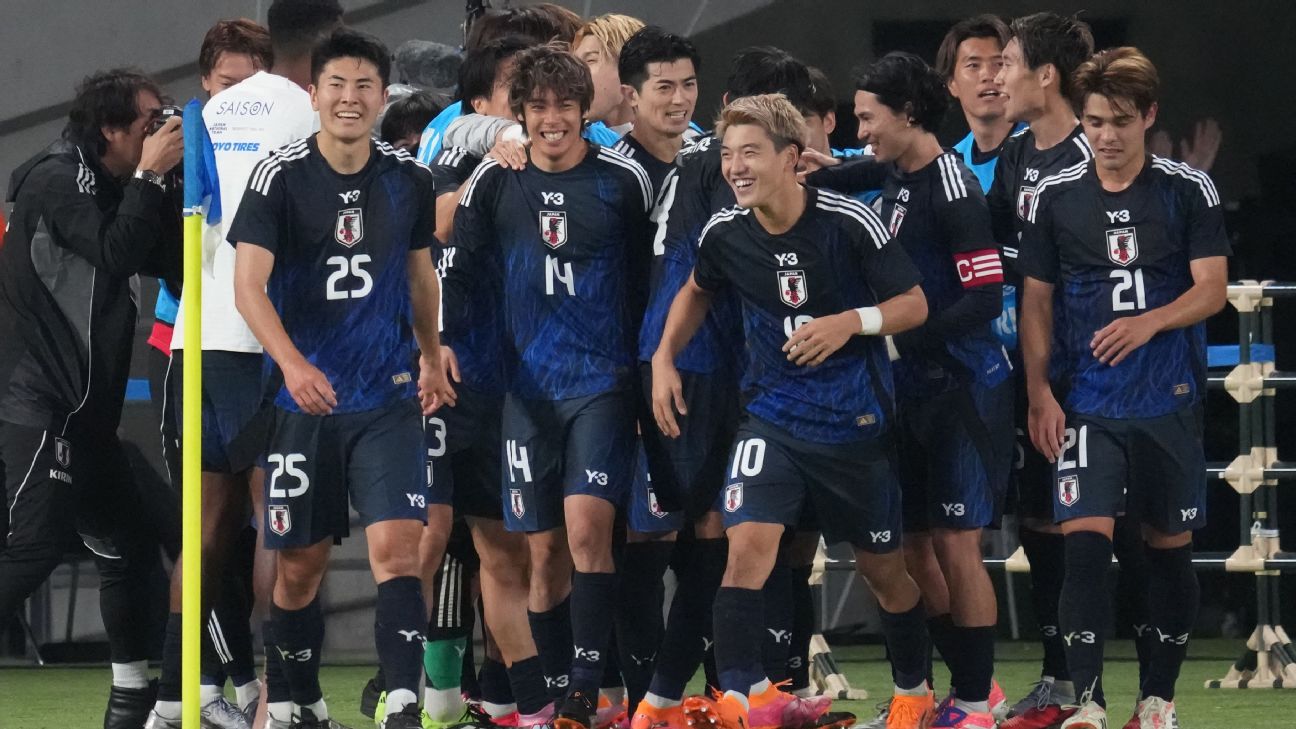
Why Japan could be the most exciting team at the 2026 FIFA World Cup
Even with a couple of key players out through injury, Japan could still be the most exciting team at the 2026 World Cup.