
Australian A-League Men

FT Wednesday, March 24, 2021
Melbourne Victory LWLLL 1
–
Wellington Phoenix LWWLD 4
1st2ndT
MBV011
WEL224
WIN Stadium · 1,184 att. · ESPN+

Match Report

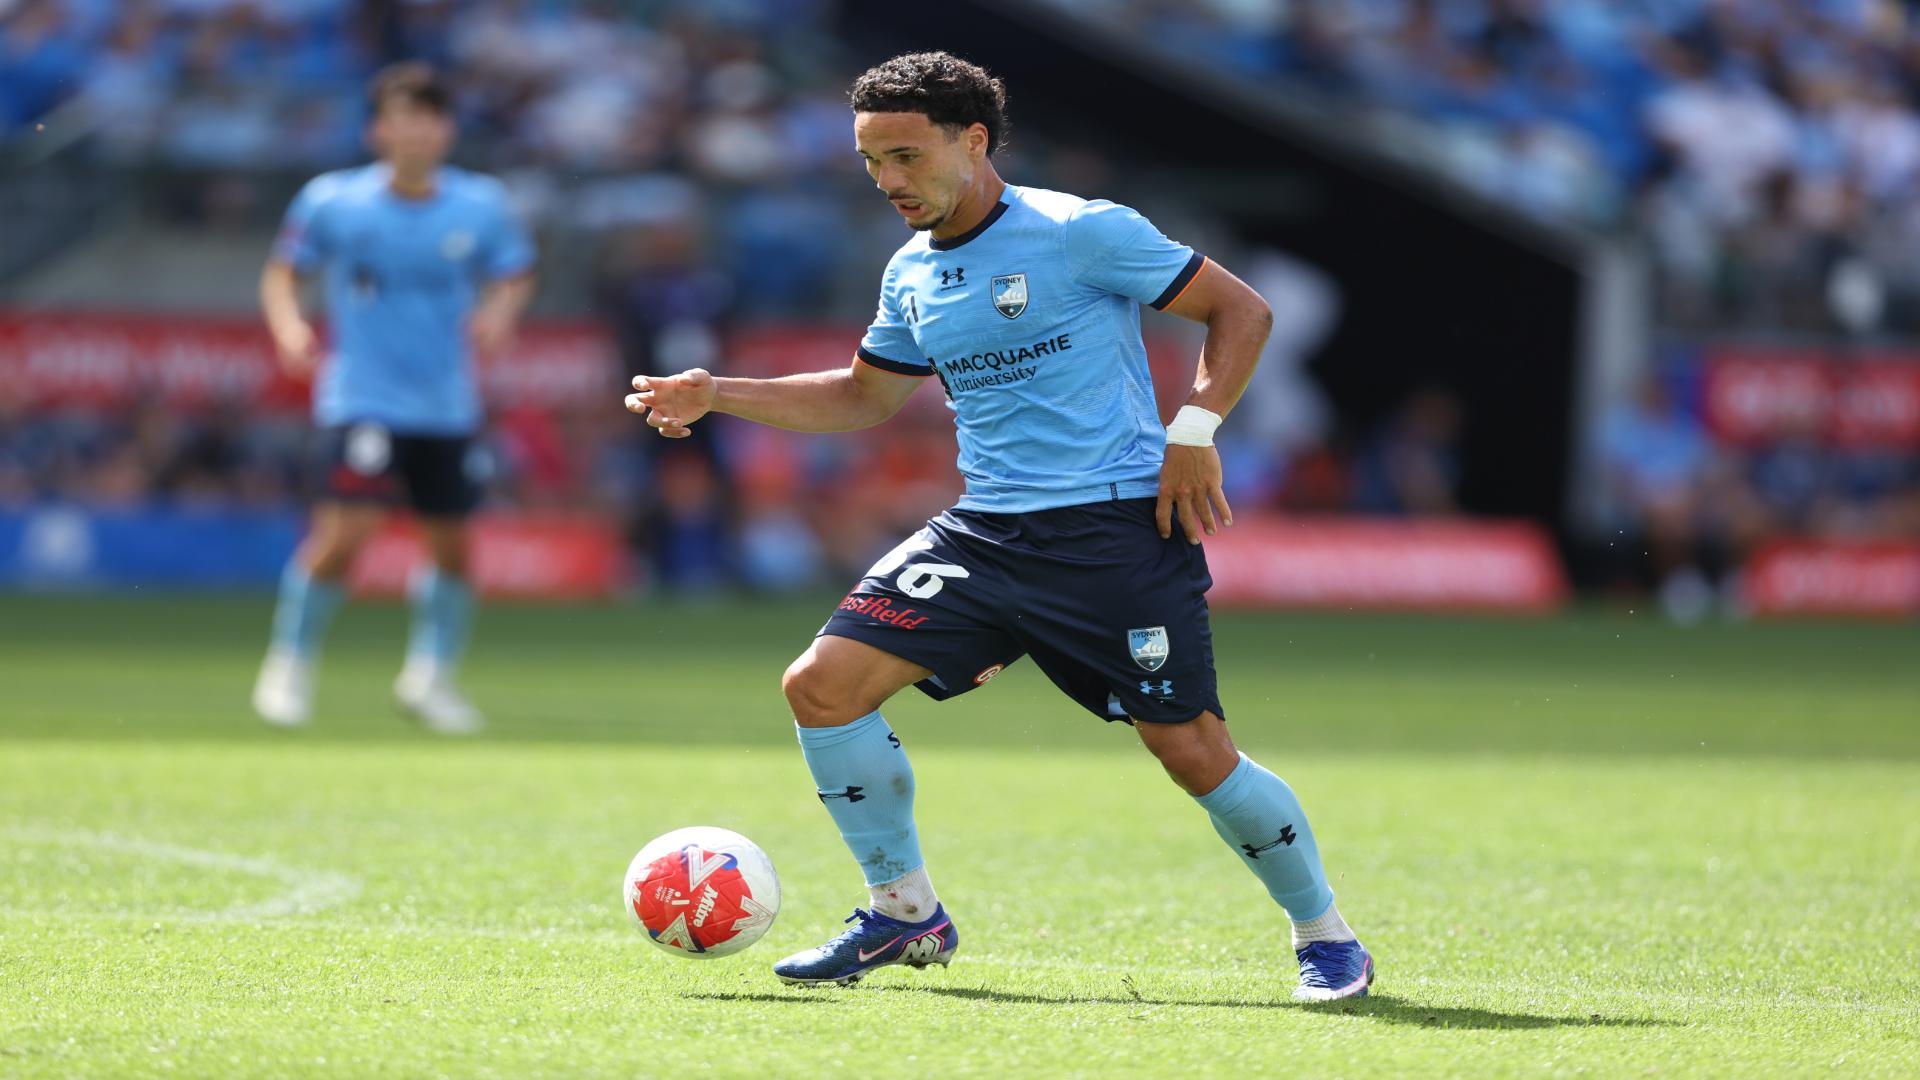
Mark Metcalfe/Getty Images

Wellington thrash Victory; increase pressure on Brebner

A-League

Full story at ESPN →

Team Stats

15
Fouls
9
3
Yellow Cards
1
0
Red Cards
0
1
Offsides
0
3
Corner Kicks
5
2
Saves
5
48.2
Possession
51.8
14
SHOTS
16
6
ON GOAL
6
0.4
On Target %
0.4
0
Penalty Goals
0
0
Penalty Kicks Taken
0
449
Accurate Passes
474
499
Passes
533
0.9
Pass Completion %
0.9
2
Accurate Crosses
5
11
Crosses
18
0.2
Cross %
0.3
39
Long Balls
43
24
Accurate Long Balls
27
0.6
Long Balls %
0.6
5
Blocked Shots
5
8
Effective Tackles
7
11
Tackles
10
0.7
Tackle %
0.7
17
Interceptions
13
15
Effective Clearances
12
15
Clearances
12

Head to Head

MBV leads series 2-1-2

Lineups

WEL · 4-4-2

  1. 20Oliver SailG
  2. 6Tim PayneCD-L
  3. 27Steven TaylorCD-R
  4. 5James McGarryLB
  5. 16Louis FentonRB
  6. 23Lewis ClaytonCM-L
  7. 14Alex RuferCM-R
  8. 7Reno PiscopoLM
  9. 10Ulises DávilaRM
  10. 17Tomer HemedCF-L
  11. 9David BallCF-R

MBV · 4-2-3-1

  1. 1Matt ActonG
  2. 15Aaron AndersonCD-L
  3. 4Nicholas AnsellCD-R
  4. 3Adama TraoréLB
  5. 2Storm RouxRB
  6. 10Robbie KruseAM
  7. 8Jacob ButterfieldLM
  8. 22Jake BrimmerRM
  9. 17Elvis KamsobaF
  10. 11Ben FolamiAM-L
  11. 7Callum McManamanAM-R

Timeline

  1. 11' Goal! Wellington Phoenix 1, Melbourne Victory 0. Tomer Hemed (Wellington Phoenix) left footed shot from the centre of the box to the top left corner. Assisted by Ulises Dávila following a fast break.
  2. 36' Goal! Wellington Phoenix 2, Melbourne Victory 0. David Ball (Wellington Phoenix) right footed shot from the right side of the six yard box to the bottom right corner following a corner.
  3. 45' Substitution, Wellington Phoenix. Cameron Devlin replaces Reno Piscopo because of an injury.
  4. 57' Substitution, Melbourne Victory. Birkan Kirdar replaces Ben Folami.
  5. 62' Goal! Wellington Phoenix 3, Melbourne Victory 0. Ulises Dávila (Wellington Phoenix) right footed shot from outside the box to the bottom right corner. Assisted by James McGarry.
  6. 65' Adama Traoré (Melbourne Victory) is shown the yellow card for a bad foul.
  7. 68' Goal! Wellington Phoenix 4, Melbourne Victory 0. Clayton Lewis (Wellington Phoenix) left footed shot from the centre of the box to the bottom right corner.
  8. 70' Robbie Kruse (Melbourne Victory) is shown the yellow card for a bad foul.
  9. 72' Substitution, Wellington Phoenix. Charles Lokoli Ngoy replaces Tomer Hemed.
  10. 74' Louis Fenton (Wellington Phoenix) is shown the yellow card for a bad foul.
  11. 76' Goal! Wellington Phoenix 4, Melbourne Victory 1. Elvis Kamsoba (Melbourne Victory) right footed shot from the centre of the box to the bottom left corner.
  12. 77' Substitution, Melbourne Victory. Zaydan Bello replaces Storm Roux.
  13. 77' Substitution, Melbourne Victory. Luis Lawrie-Lattanzio replaces Elvis Kamsoba because of an injury.
  14. 81' Substitution, Wellington Phoenix. Jaushua Sotirio replaces David Ball.
  15. 86' Substitution, Melbourne Victory. Jay Barnett replaces Callum McManaman because of an injury.
  16. 90'+1' Substitution, Wellington Phoenix. Sam Sutton replaces Clayton Lewis.
  17. 90'+1' Substitution, Wellington Phoenix. Ben Waine replaces Ulises Dávila.
  18. 90'+1' Jacob Butterfield (Melbourne Victory) is shown the yellow card for a bad foul.

A-League Men News

All news