Australian A-League Men
FT
Friday, November 3, 2023


| 1st | 2nd | T | |
|---|---|---|---|
| BRI | 1 | 1 | 2 |
| WEL | 2 | 3 | 5 |
Sky Stadium · 7,003 att.
Team Stats
5
Fouls
11
0
Yellow Cards
2
0
Red Cards
0
0
Offsides
2
4
Corner Kicks
2
2
Saves
3
53.2
Possession
46.8
17
SHOTS
9
5
ON GOAL
7
0.3
On Target %
0.8
0
Penalty Goals
0
0
Penalty Kicks Taken
0
505
Accurate Passes
427
570
Passes
508
0.9
Pass Completion %
0.8
2
Accurate Crosses
2
21
Crosses
15
0.1
Cross %
0.1
31
Long Balls
79
15
Accurate Long Balls
52
0.5
Long Balls %
0.7
3
Blocked Shots
1
14
Effective Tackles
9
21
Tackles
20
0.7
Tackle %
0.5
13
Interceptions
10
10
Effective Clearances
16
10
Clearances
16
Head to Head
WEL leads series 3-1-1
Lineups
WEL · 4-3-2-1
- 40Alex PaulsenG
- 4Scott WoottonCD-L
- 3Finn SurmanCD-R
- 18Lukas Kelly-HealdLB
- 6Tim PayneRB
- 14Alex RuferCM
- 15Nicholas PenningtonCM-L
- 12Mohamed Al-TaayCM-R
- 9Oskar ZawadaF
- 7Kosta BarbarousesCF-L
- 11Bozhidar KraevCF-R
BRI · 4-2-3-1
- 1Macklin FrekeG
- 5Tom AldredCD-L
- 2Scott NevilleCD-R
- 27Kai TrewinLB
- 35Louis ZabalaRB
- 7Florin BerenguerAM
- 26Jay O'SheaLM
- 6Joe CalettiRM
- 16Thomas WaddinghamF
- 13Henry HoreAM-L
- 10Nikola MileusnicAM-R
Timeline
- 1' Goal! Wellington Phoenix 0, Brisbane Roar 1. Florin Bérenguer (Brisbane Roar) right footed shot from the right side of the box to the bottom left corner. Assisted by Joe Caletti.
- 24' Goal! Wellington Phoenix 1, Brisbane Roar 1. Tim Payne (Wellington Phoenix) left footed shot from the right side of the box to the bottom left corner. Assisted by Kosta Barbarouses.
- 32' Goal! Wellington Phoenix 2, Brisbane Roar 1. Oskar Zawada (Wellington Phoenix) left footed shot from the centre of the box to the bottom left corner.
- 33' Mohamed Al-Taay (Wellington Phoenix) is shown the yellow card for a bad foul.
- 45' Substitution, Brisbane Roar. Aaron Reardon replaces Kai Trewin.
- 53' Goal! Wellington Phoenix 2, Brisbane Roar 2. Nikola Mileusnic (Brisbane Roar) right footed shot from the right side of the box to the top right corner.
- 56' Substitution, Wellington Phoenix. Ben Old replaces Mohamed Al-Taay.
- 58' Goal! Wellington Phoenix 3, Brisbane Roar 2. Bozhidar Kraev (Wellington Phoenix) left footed shot from the centre of the box to the bottom left corner. Assisted by Tim Payne.
- 63' Goal! Wellington Phoenix 4, Brisbane Roar 2. Oskar Zawada (Wellington Phoenix) header from very close range to the high centre of the goal. Assisted by Lukas Kelly-Heald with a cross.
- 63' Substitution, Brisbane Roar. Carlo Armiento replaces Henry Hore.
- 73' Substitution, Brisbane Roar. Rylan Brownlie replaces Thomas Waddingham.
- 79' Substitution, Brisbane Roar. Jonas Markovski replaces Florin Bérenguer.
- 79' Substitution, Brisbane Roar. Taras Gomulka replaces Joe Caletti.
- 79' Substitution, Wellington Phoenix. Sam Sutton replaces Bozhidar Kraev.
- 80' Oskar Zawada (Wellington Phoenix) is shown the yellow card.
- 86' Substitution, Wellington Phoenix. Isaac Hughes replaces Kosta Barbarouses.
- 90'+2' Goal! Wellington Phoenix 5, Brisbane Roar 2. Oskar Zawada (Wellington Phoenix) right footed shot from very close range to the top left corner. Assisted by Nicholas Pennington.
A-League Men News
All news ESPN
A-League Men Stocks: Has Talay fixed the Wanderers?
Talay's Wanderers dazzled, Melbourne's heavyweights misfired and an unexpected contender is already shaking up the A-League table.
 Video
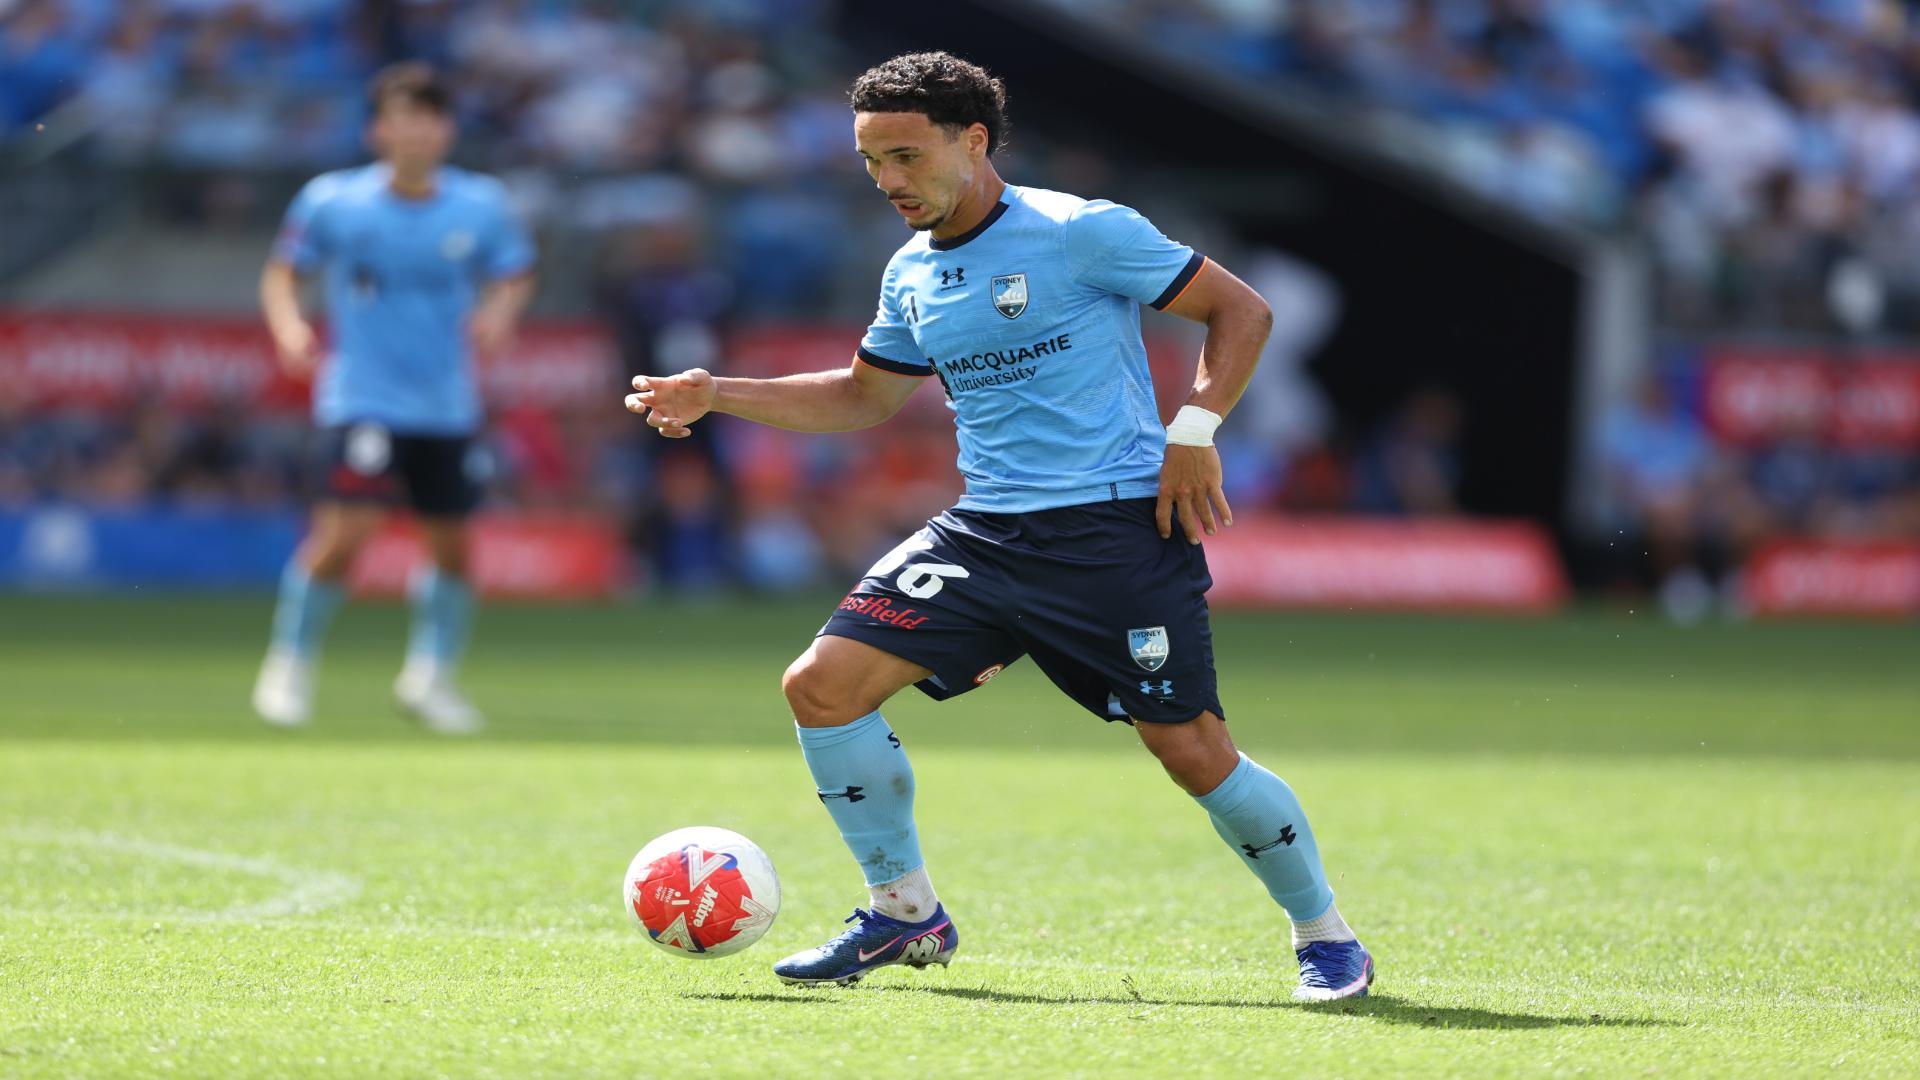
Youlley sparks Sydney's comeback with a beauty from range
Rhys Youlley fires home from outside the box as Sydney FC fight back to claim a 2-1 win.
 Video
Nam Tae-Hee doubles Roar's lead with a screamer
The South Korean star scores a stunning volley in his A-League debut for Brisbane against the Perth Glory.
 ESPN
A-League Men Stocks Round 1: I've got chulls
Each week, ESPN's experts will take you through the weekend's action across the A-League Men and the A-League Women to give you the lowdown on whose stocks are up, whose stocks are down, and what has the people talking coming out of the weekend.