Australian A-League Men
FT
Friday, November 1, 2024


| 1st | 2nd | T | |
|---|---|---|---|
| AUC | 0 | 2 | 2 |
| WEL | 0 | 0 | 0 |
Sky Stadium · 26,252 att. · ESPN3
Team Stats
13
Fouls
9
2
Yellow Cards
0
0
Red Cards
0
0
Offsides
0
5
Corner Kicks
2
1
Saves
4
49.5
Possession
50.5
18
SHOTS
7
6
ON GOAL
1
0.3
On Target %
0.1
0
Penalty Goals
0
0
Penalty Kicks Taken
0
0
Accurate Passes
0
0
Passes
0
0.0
Pass Completion %
0.0
0
Accurate Crosses
0
0
Crosses
0
0.0
Cross %
0.0
0
Long Balls
0
0
Accurate Long Balls
0
0.0
Long Balls %
0.0
4
Blocked Shots
4
0
Effective Tackles
0
0
Tackles
0
0.0
Tackle %
0.0
0
Interceptions
0
0
Effective Clearances
0
0
Clearances
0
Head to Head
AUC leads series 1-0
Lineups
WEL · 5-3-2
- 1Josh OluwayemiG
- 4Scott WoottonCD
- 15Isaac HughesCD-L
- 27Matthew SheridanCD-R
- 19Sam SuttonLB
- 6Tim PayneRB
- 14Alex RuferCM
- 25Kazuki NagasawaCM-L
- 5Fin ConchieCM-R
- 9Hideki IshigeCF-L
- 7Kosta BarbarousesCF-R
AUC · 4-4-2
- 12Alex PaulsenG
- 4Nando PijnakerCD-L
- 23Daniel HallCD-R
- 15Francis de VriesLB
- 2Hiroki SakaiRB
- 28Felipe GallegosCM-L
- 6Louis VerstraeteCM-R
- 14William GillionLM
- 27Logan RogersonRM
- 7Cameron HowiesonCF-L
- 10Guillermo MayCF-R
Timeline
- 55' Nathan Walker (Wellington Phoenix FC) Substitution at 55'
- 56' Louis Verstraete (Auckland FC) Yellow Card at 56'
- 62' Stefan Colakovski (Wellington Phoenix FC) Substitution at 62'
- 71' Jake Brimmer (Auckland FC) Substitution at 71'
- 71' Neyder Moreno (Auckland FC) Substitution at 71'
- 82' Neyder Moreno (Auckland FC) Yellow Card at 82'
- 84' Luis Toomey (Auckland FC) Substitution at 84'
- 86' Marco Rojas (Wellington Phoenix FC) Substitution at 86'
- 88' Jake Brimmer (Auckland FC) Goal at 88'
- 90' Tommy Smith (Auckland FC) Substitution at 90'
- 90'+6' Jake Brimmer (Auckland FC) Goal at 96'
A-League Men News
All news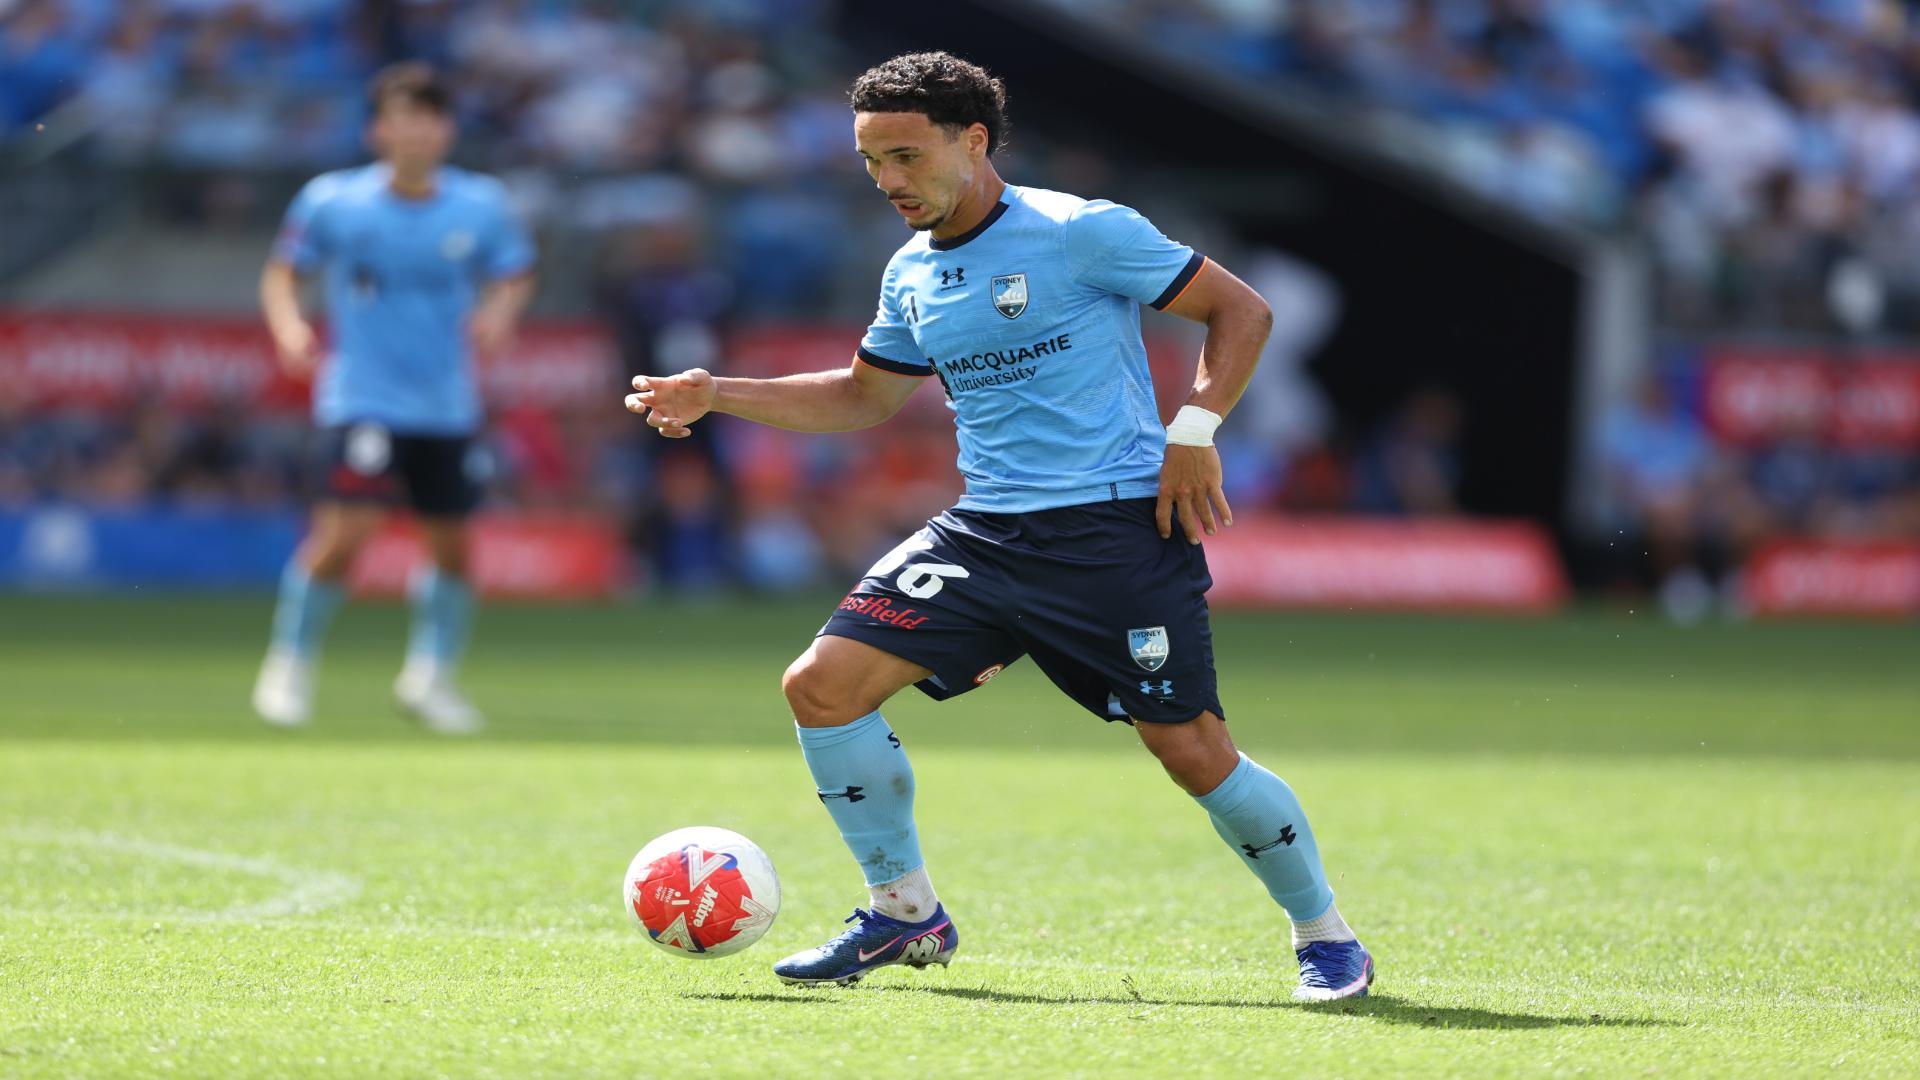 Video
Youlley sparks Sydney's comeback with a beauty from range
Rhys Youlley fires home from outside the box as Sydney FC fight back to claim a 2-1 win.
 Video
Nam Tae-Hee doubles Roar's lead with a screamer
The South Korean star scores a stunning volley in his A-League debut for Brisbane against the Perth Glory.
 ESPN
A-League Men Stocks Round 1: I've got chulls
Each week, ESPN's experts will take you through the weekend's action across the A-League Men and the A-League Women to give you the lowdown on whose stocks are up, whose stocks are down, and what has the people talking coming out of the weekend.
 News
777 exec Wander, who led Everton bid, guilty of fraud; to repay $500M
An American businessman whose firm invested in several European soccer clubs that struggled under its ownership pleaded guilty to fraud Thursday in New York.