Australian A-League Men
FT
Saturday, November 23, 2024


| 1st | 2nd | T | |
|---|---|---|---|
| MBV | 0 | 0 | 0 |
| WEL | 0 | 1 | 1 |
Allianz Stadium · 3,478 att. · ESPN3
Team Stats
7
Fouls
8
1
Yellow Cards
1
0
Red Cards
0
0
Offsides
0
7
Corner Kicks
1
0
Saves
2
57.3
Possession
42.7
18
SHOTS
6
3
ON GOAL
1
0.2
On Target %
0.2
0
Penalty Goals
0
0
Penalty Kicks Taken
0
0
Accurate Passes
0
0
Passes
0
0.0
Pass Completion %
0.0
0
Accurate Crosses
0
0
Crosses
0
0.0
Cross %
0.0
0
Long Balls
0
0
Accurate Long Balls
0
0.0
Long Balls %
0.0
8
Blocked Shots
2
0
Effective Tackles
0
0
Tackles
0
0.0
Tackle %
0.0
0
Interceptions
0
0
Effective Clearances
0
0
Clearances
0
Head to Head
Series tied 1-1-3
Lineups
WEL · 3-5-2
- 1Josh OluwayemiG
- 15Isaac HughesCD
- 4Scott WoottonCD-L
- 27Matthew SheridanCD-R
- 25Kazuki NagasawaCM-L
- 8Paulo RetreCM-R
- 14Alex RuferAM
- 41Nathan WalkerLM
- 24Oskar van HattumRM
- 9Hideki IshigeCF-L
- 7Kosta BarbarousesCF-R
MBV · 4-2-3-1
- 25Jack DuncanG
- 21Roderick MirandaCD-L
- 5Brendan HamillCD-R
- 28Kasey BosLB
- 2Jason GeriaRB
- 8Zinédine MachachAM
- 14Jordi ValadonLM
- 6Ryan TeagueRM
- 9Nikolaos VergosF
- 7Daniel ArzaniAM-L
- 11Clarismario RodriguesAM-R
Timeline
- 30' Kasey Bos (Melbourne Victory) Yellow Card at 30'
- 45' Corban Piper (Wellington Phoenix FC) Substitution at 45'
- 62' Alex Rufer (Wellington Phoenix FC) Yellow Card at 62'
- 67' Jing Lual (Melbourne Victory) Substitution at 67'
- 68' Marco Rojas (Wellington Phoenix FC) Substitution at 68'
- 68' Stefan Colakovski (Wellington Phoenix FC) Substitution at 68'
- 75' Reno Piscopo (Melbourne Victory) Substitution at 75'
- 82' Kosta Barbarouses (Wellington Phoenix FC) Goal at 82'
- 86' Fabian Monge (Melbourne Victory) Substitution at 86'
- 86' Bruno Fornaroli (Melbourne Victory) Substitution at 86'
- 90' Mohamed Al-Taay (Wellington Phoenix FC) Substitution at 90'
A-League Men News
All news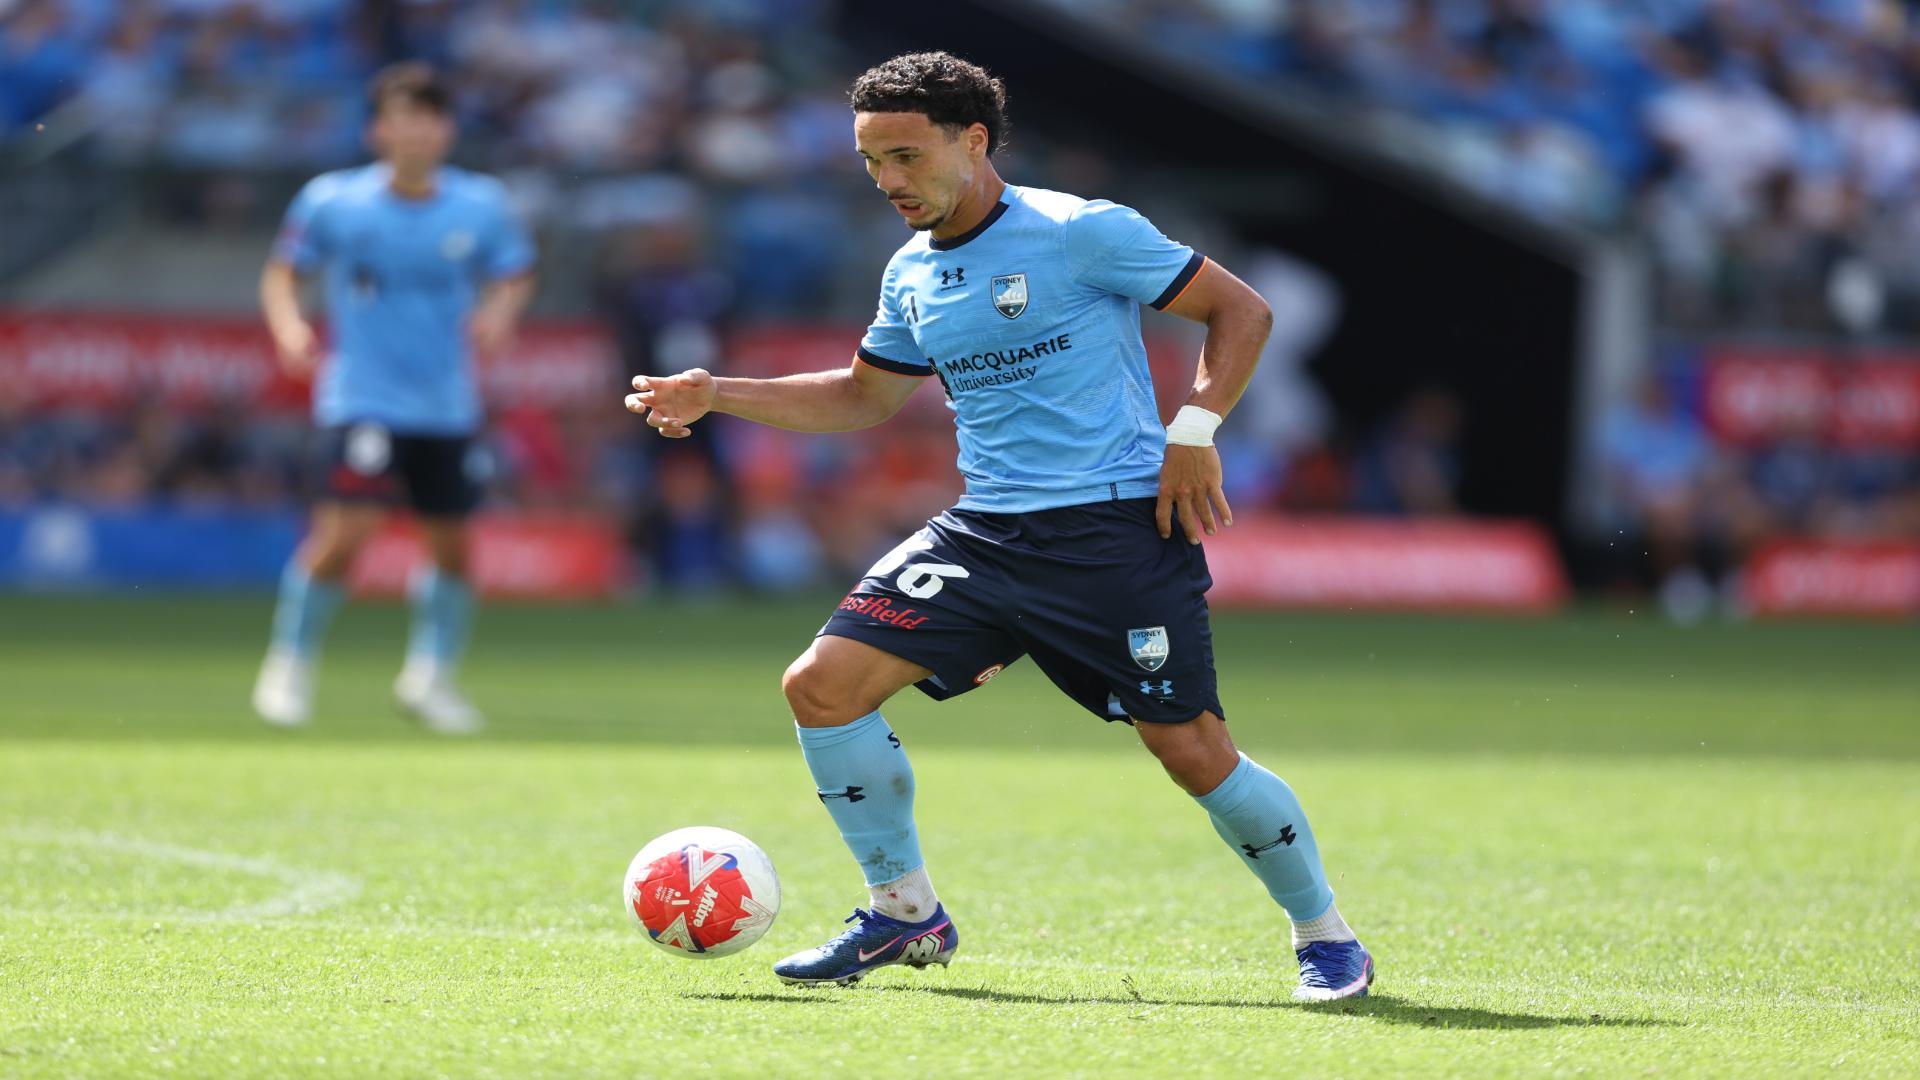 Video
Youlley sparks Sydney's comeback with a beauty from range
Rhys Youlley fires home from outside the box as Sydney FC fight back to claim a 2-1 win.
 Video
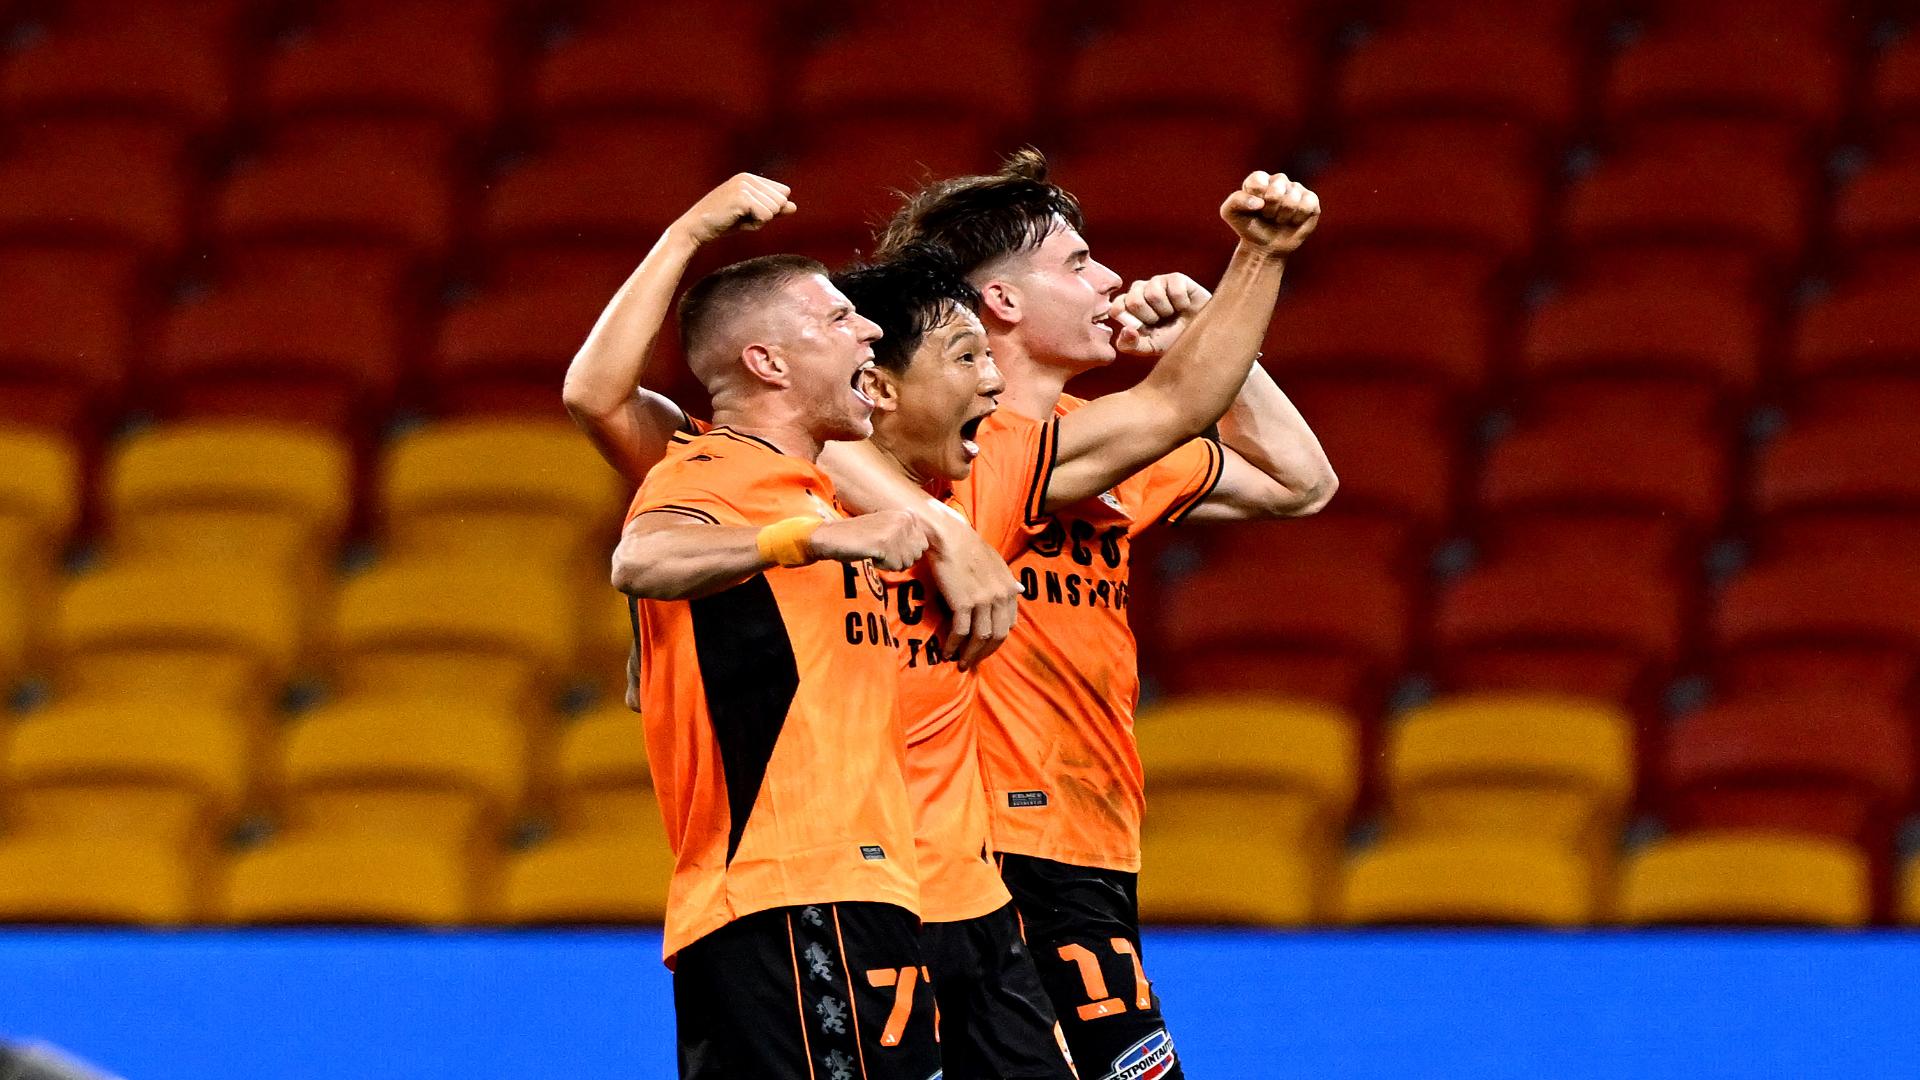
Nam Tae-Hee doubles Roar's lead with a screamer
The South Korean star scores a stunning volley in his A-League debut for Brisbane against the Perth Glory.
 ESPN
A-League Men Stocks Round 1: I've got chulls
Each week, ESPN's experts will take you through the weekend's action across the A-League Men and the A-League Women to give you the lowdown on whose stocks are up, whose stocks are down, and what has the people talking coming out of the weekend.
 News
777 exec Wander, who led Everton bid, guilty of fraud; to repay $500M
An American businessman whose firm invested in several European soccer clubs that struggled under its ownership pleaded guilty to fraud Thursday in New York.